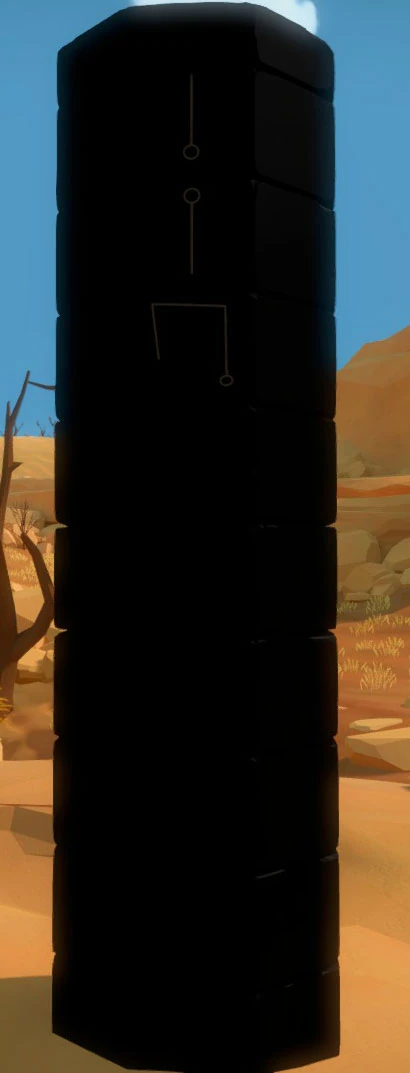
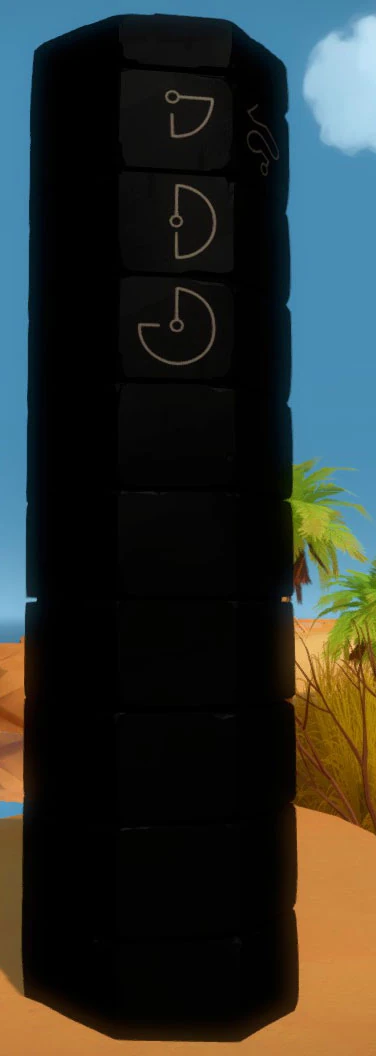
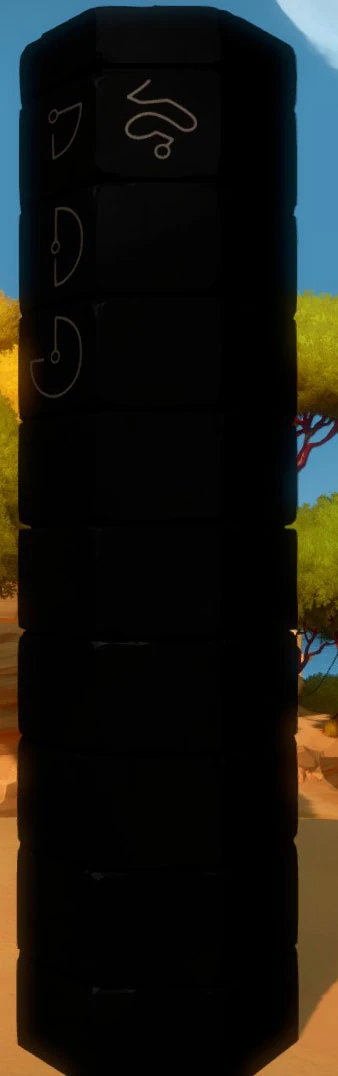
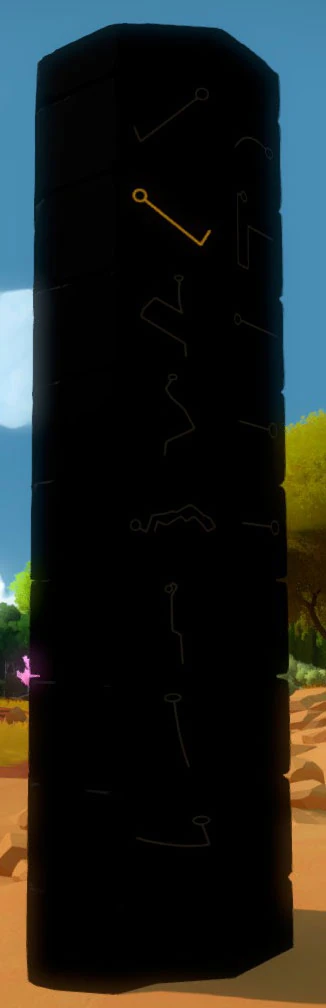
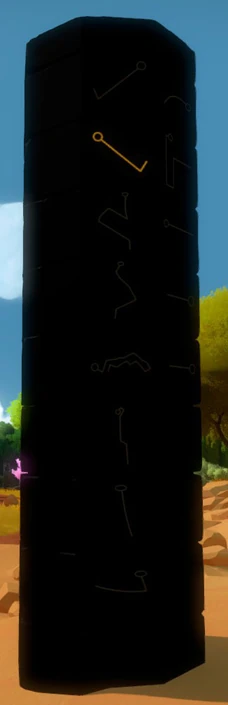
The Desert Obelisk is one of six large black structures found on the island in The Witness. Its purpose is directly tied to that of the many hidden Environmental Puzzles, and solving any of the nearby puzzles will light up a corresponding symbol, and reveal the symbols of other nearby puzzles.
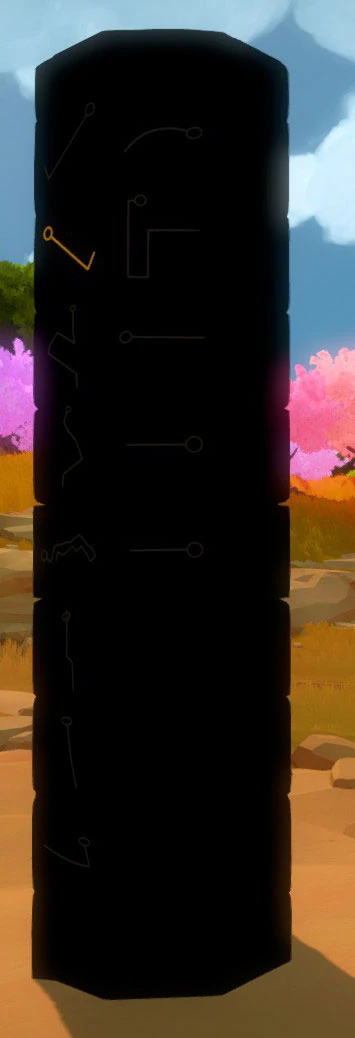
Each face of the obelisk represents an area full of puzzles. The number of symbols in a column represent the number of puzzles in a given area, and the direction of the column indicates where the puzzles can be found.
Use the following section to locate where the puzzles are located, and the images to reveal the puzzle location itself.
Desert Obelisk - Side 1[ | ]
| # of Symbols | Symbol Locations | |
 |
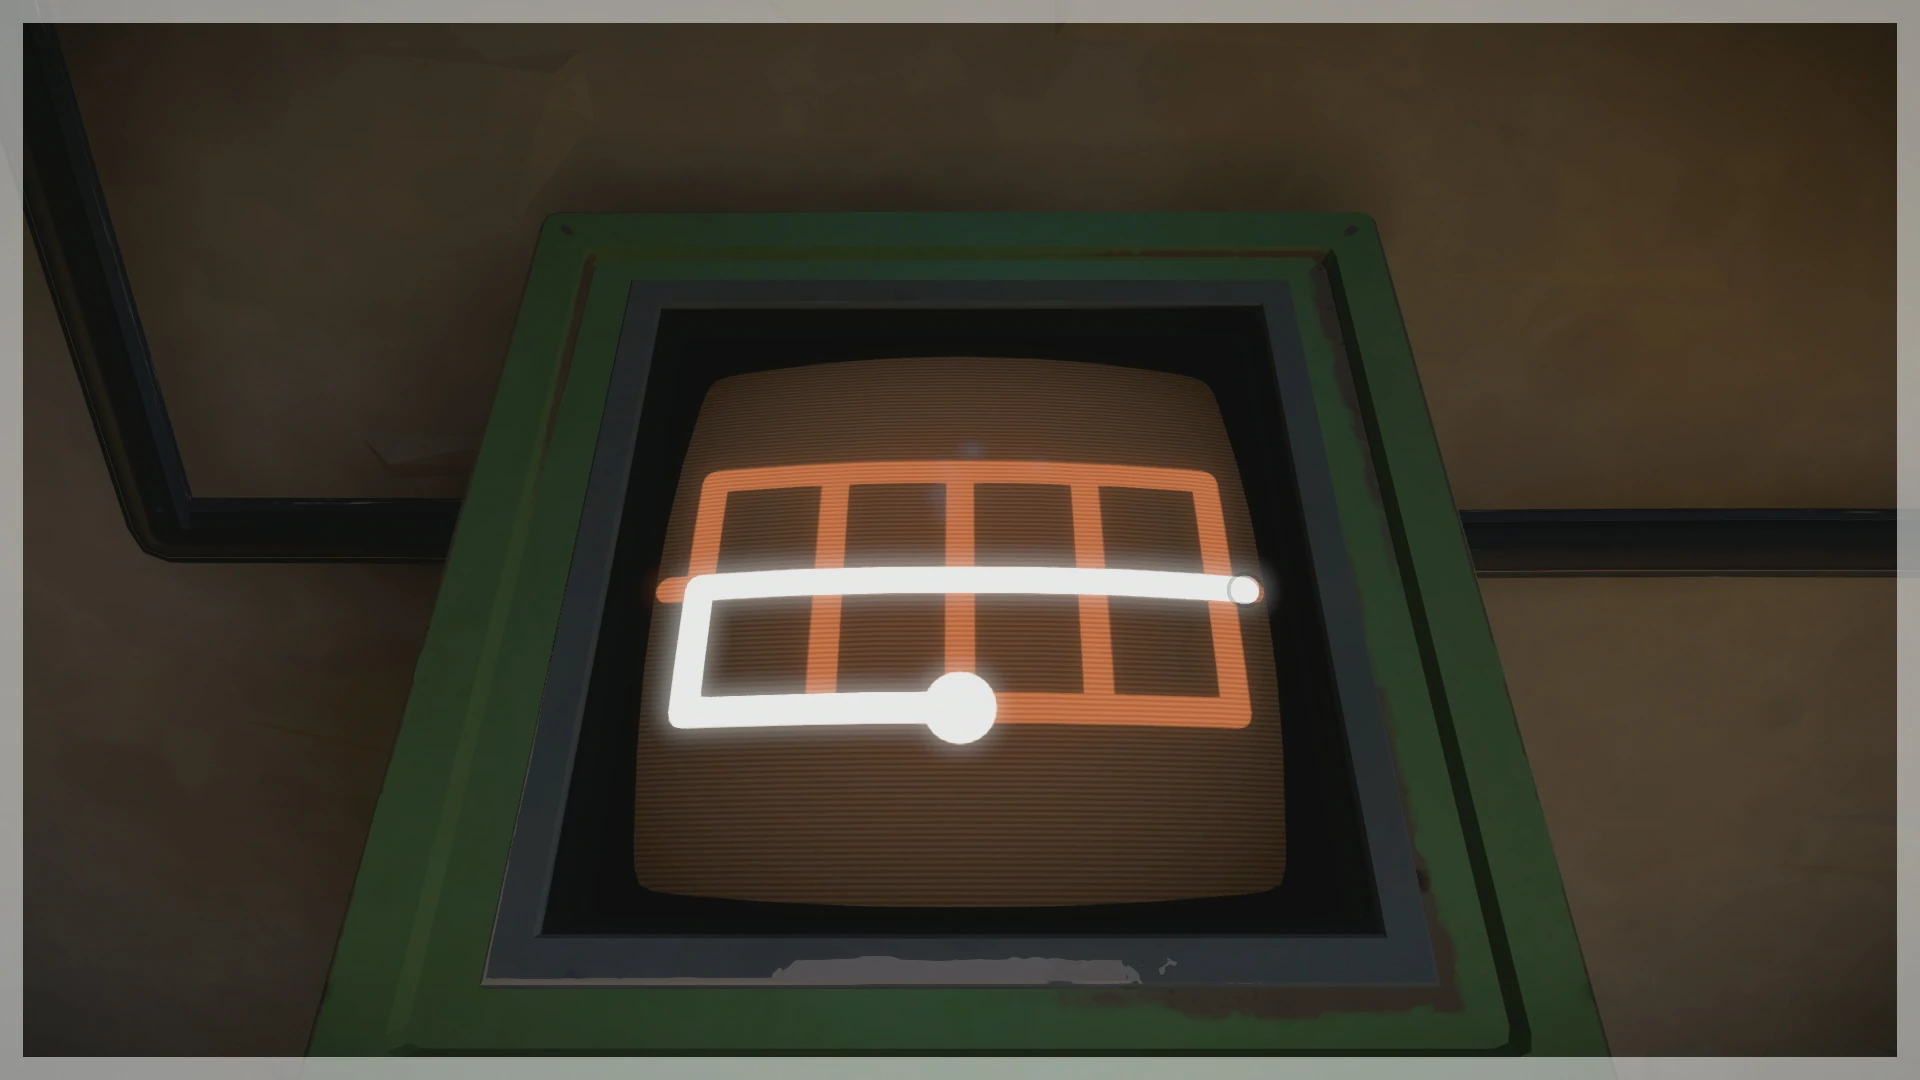
3 | Glass Factory |
Symbol 1[ | ]
To unlock this symbol, you must complete both the Glass Factory puzzles, and the first tier of puzzles on the Symmetry Island to power up the gate leading to the top of the island. Once it's unlock, look left at the Glass Factory at notice the smelter is now aligned with the chimney, providing a perfect puzzle to trace.
Symbol 2[ | ]
The complete opposite of the symbol above, this one is hidden in the smelter's reflection. You'll need a different vantage point, closer to the water, that requires you to unlock the gate leading to the Symmetry Island, then travel to the water's edge to align it.
Symbol 3[ | ]

When entering the Glass Factory, you may notice the assorted vases on display. One in particular shares a color with the doorway. To align the vase, leave the Factory and head around back to climb up onto the roof, and look for a hole on the ceiling where you can align both parts.
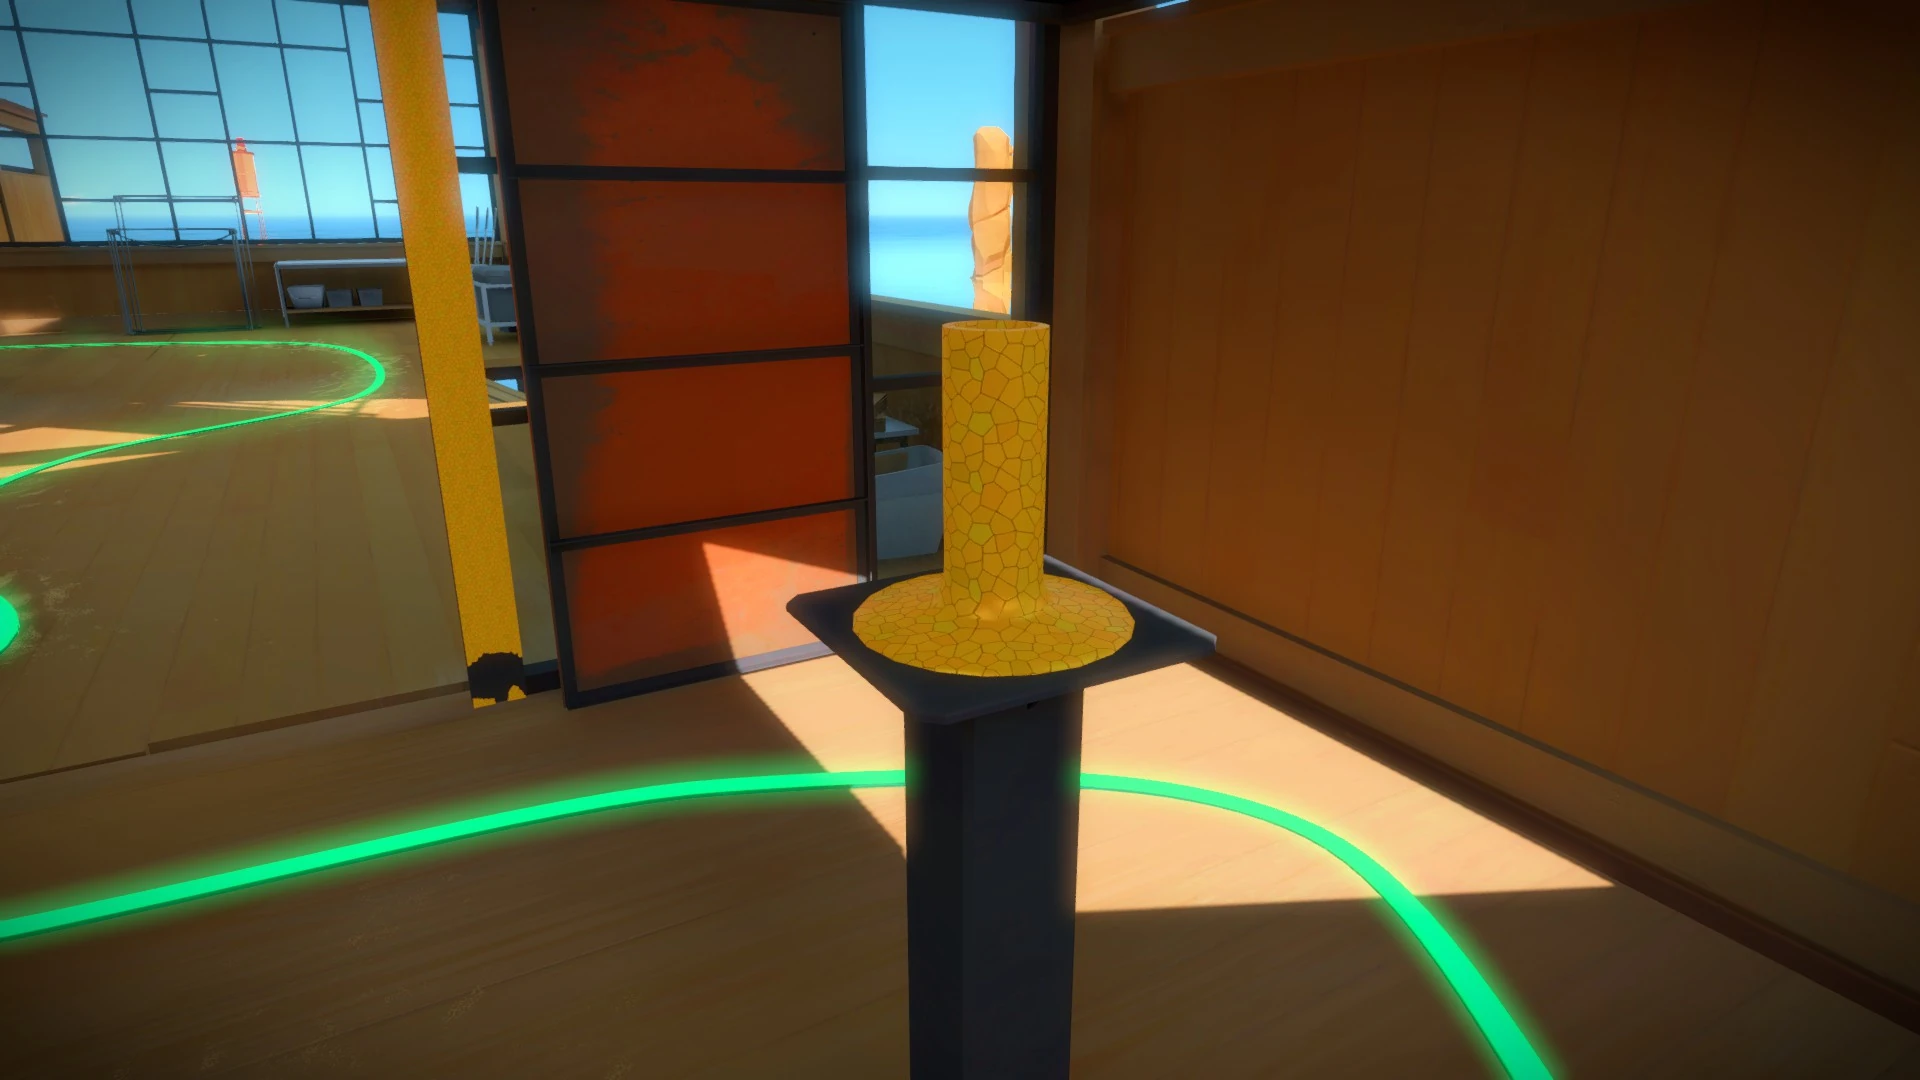

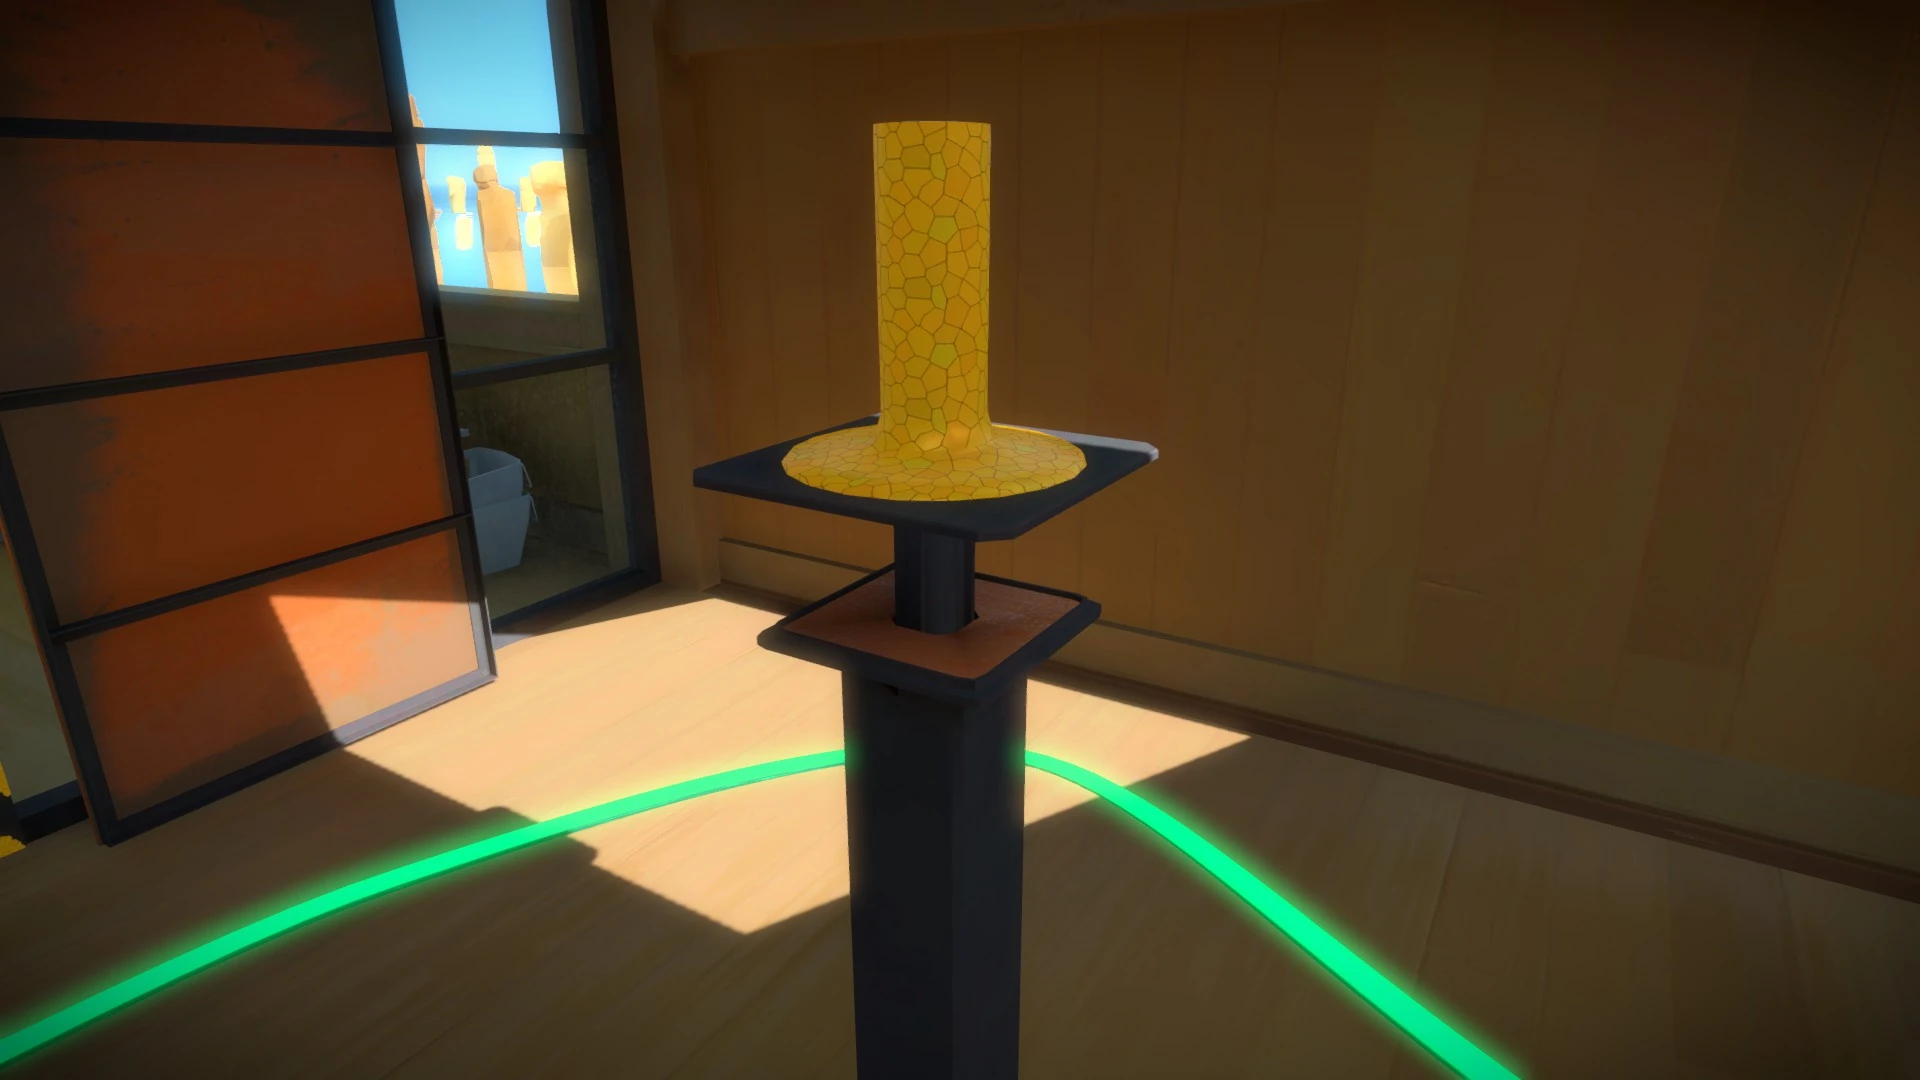
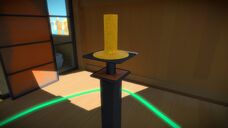
If the vase doesn't quite reach, the same panel you used to open to door affects which vase podium is raised by drawing the shape of the one you want raised.
Desert Obelisk - Side 2[ | ]
| # of Symbols | Symbol Locations | |
  |
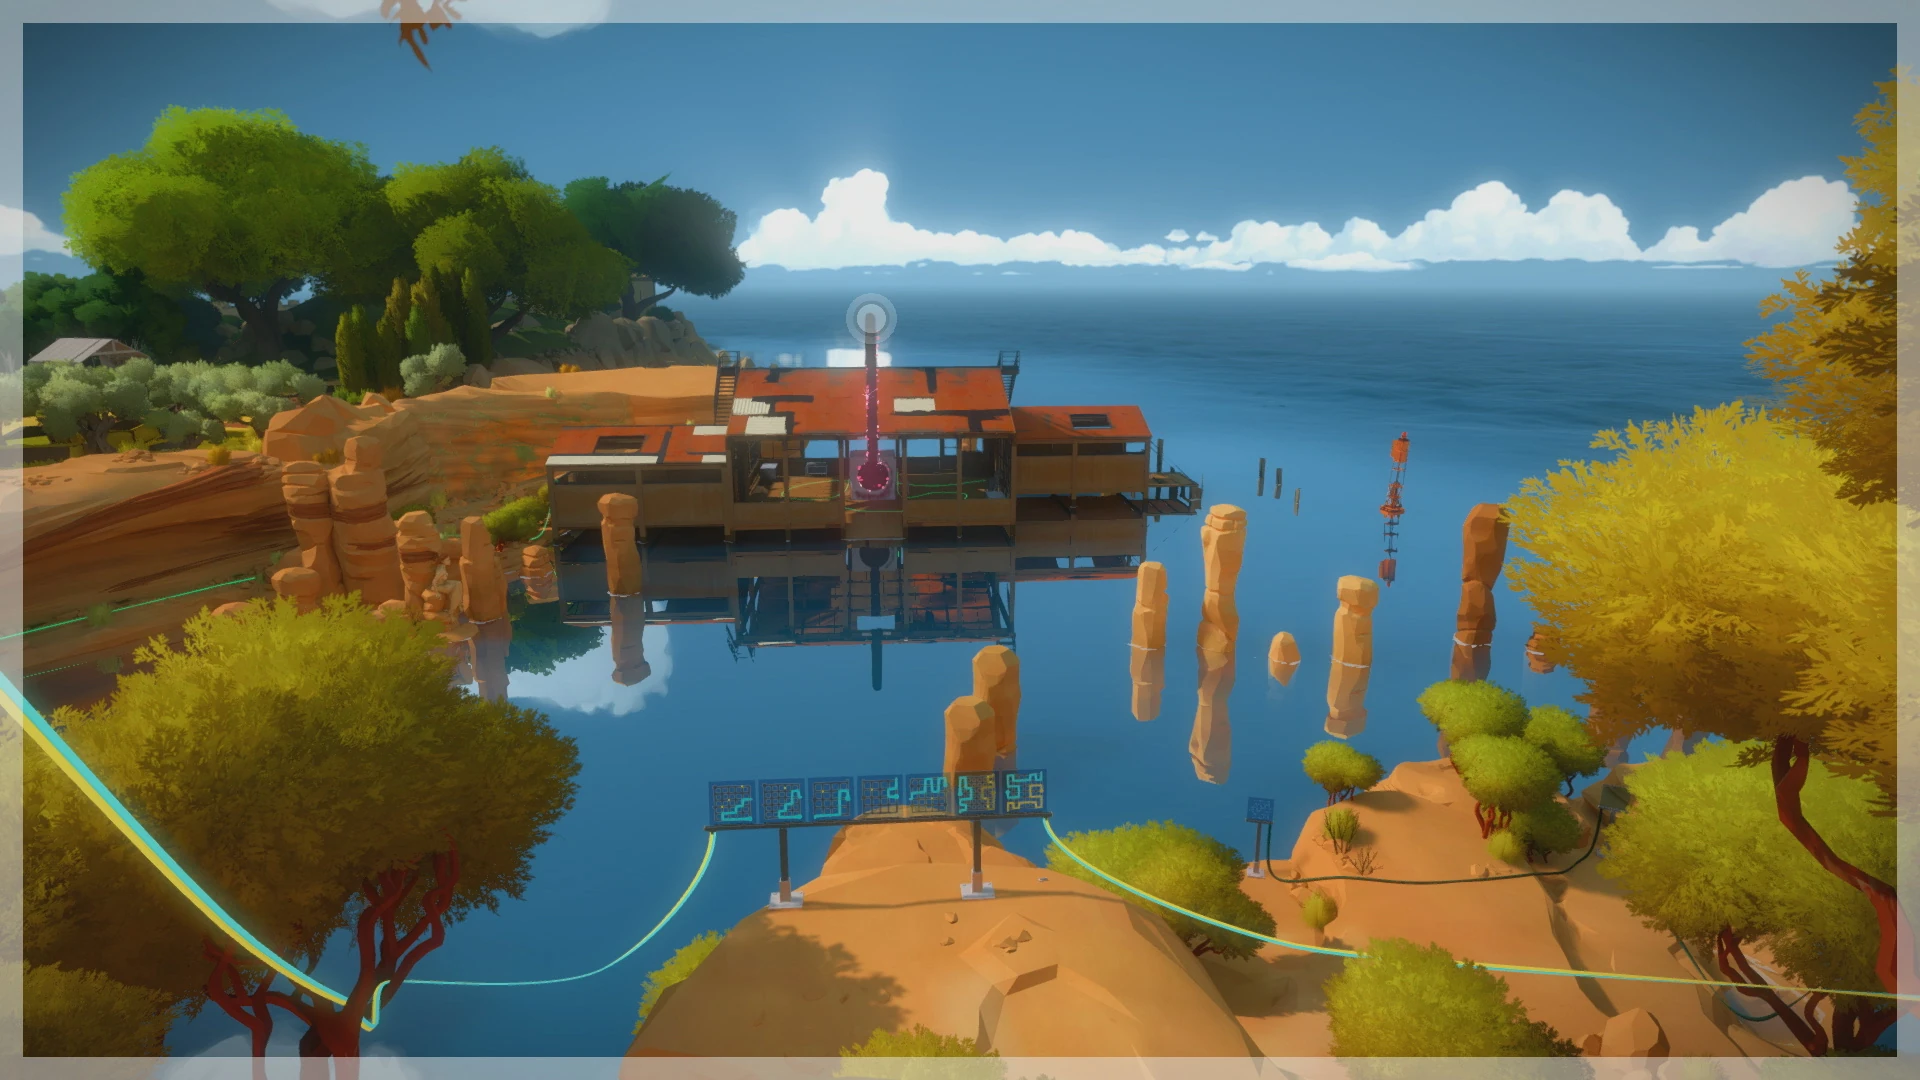
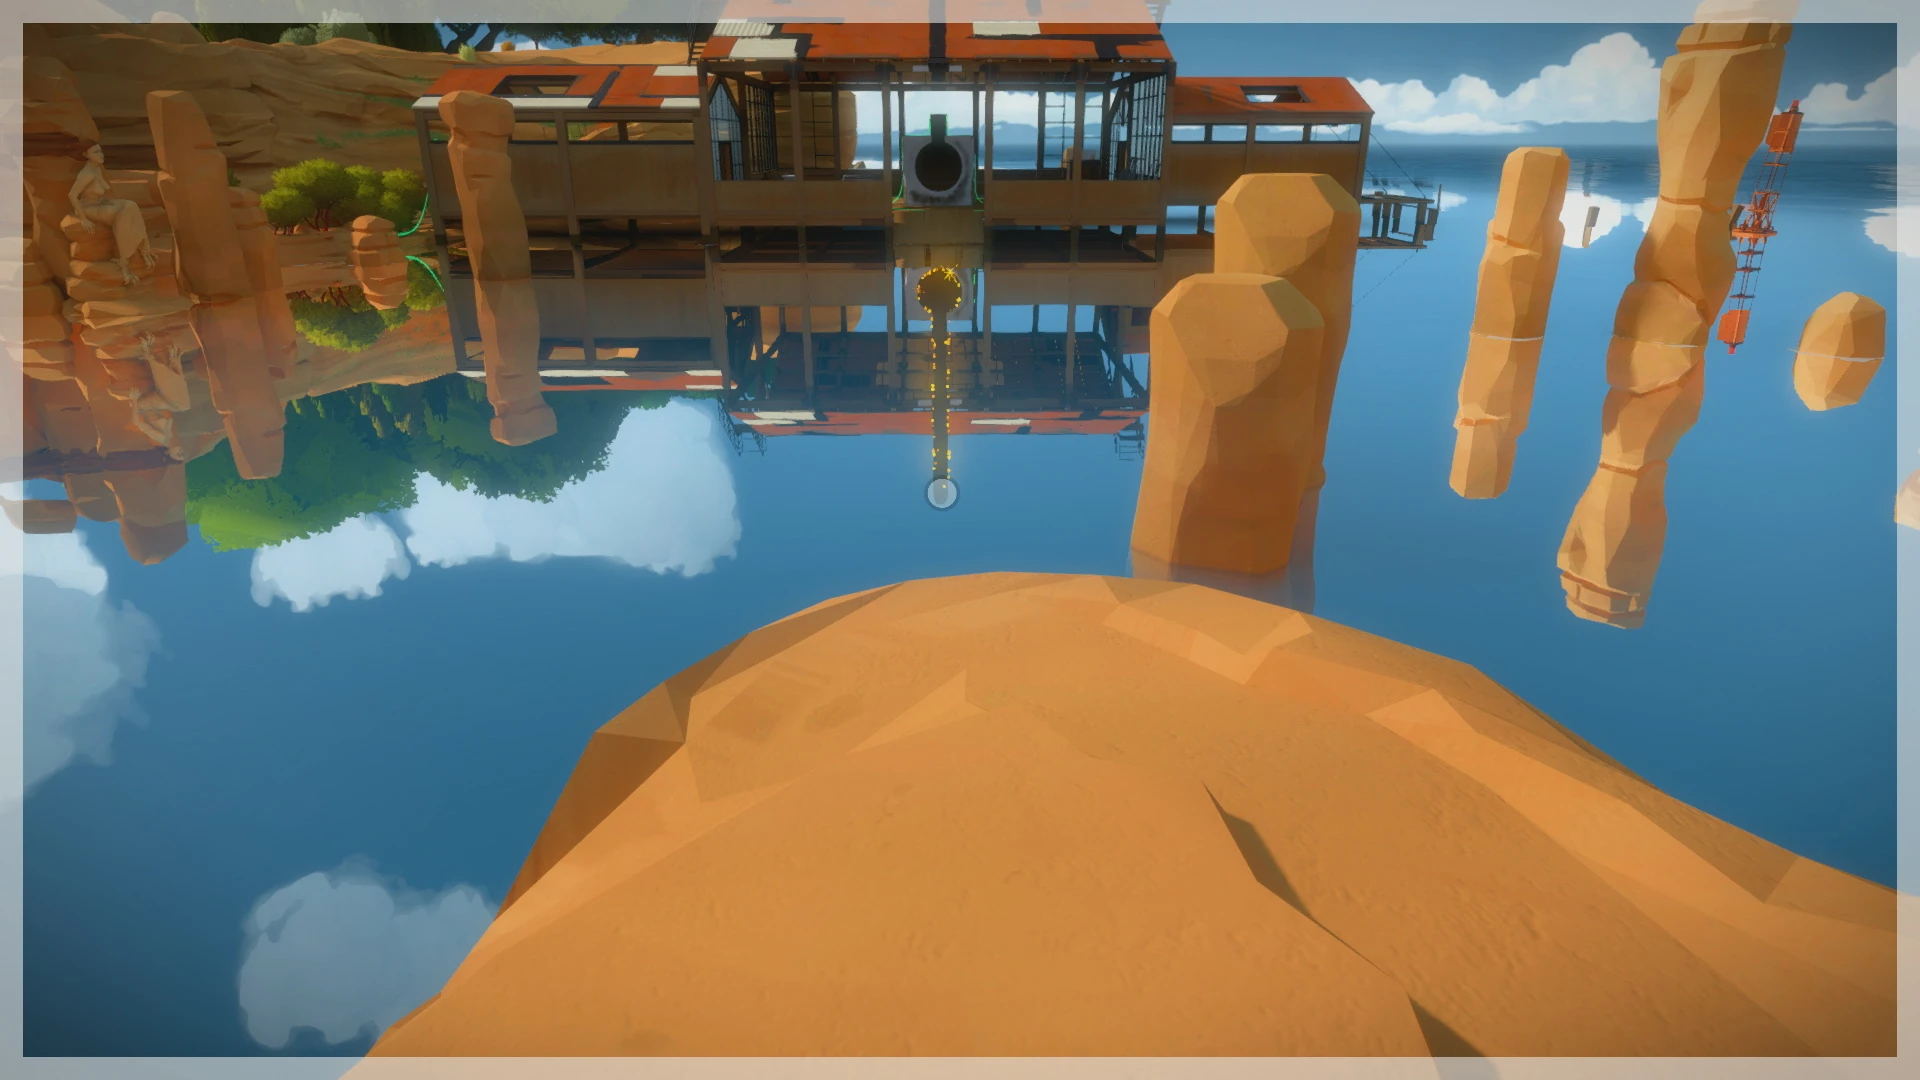
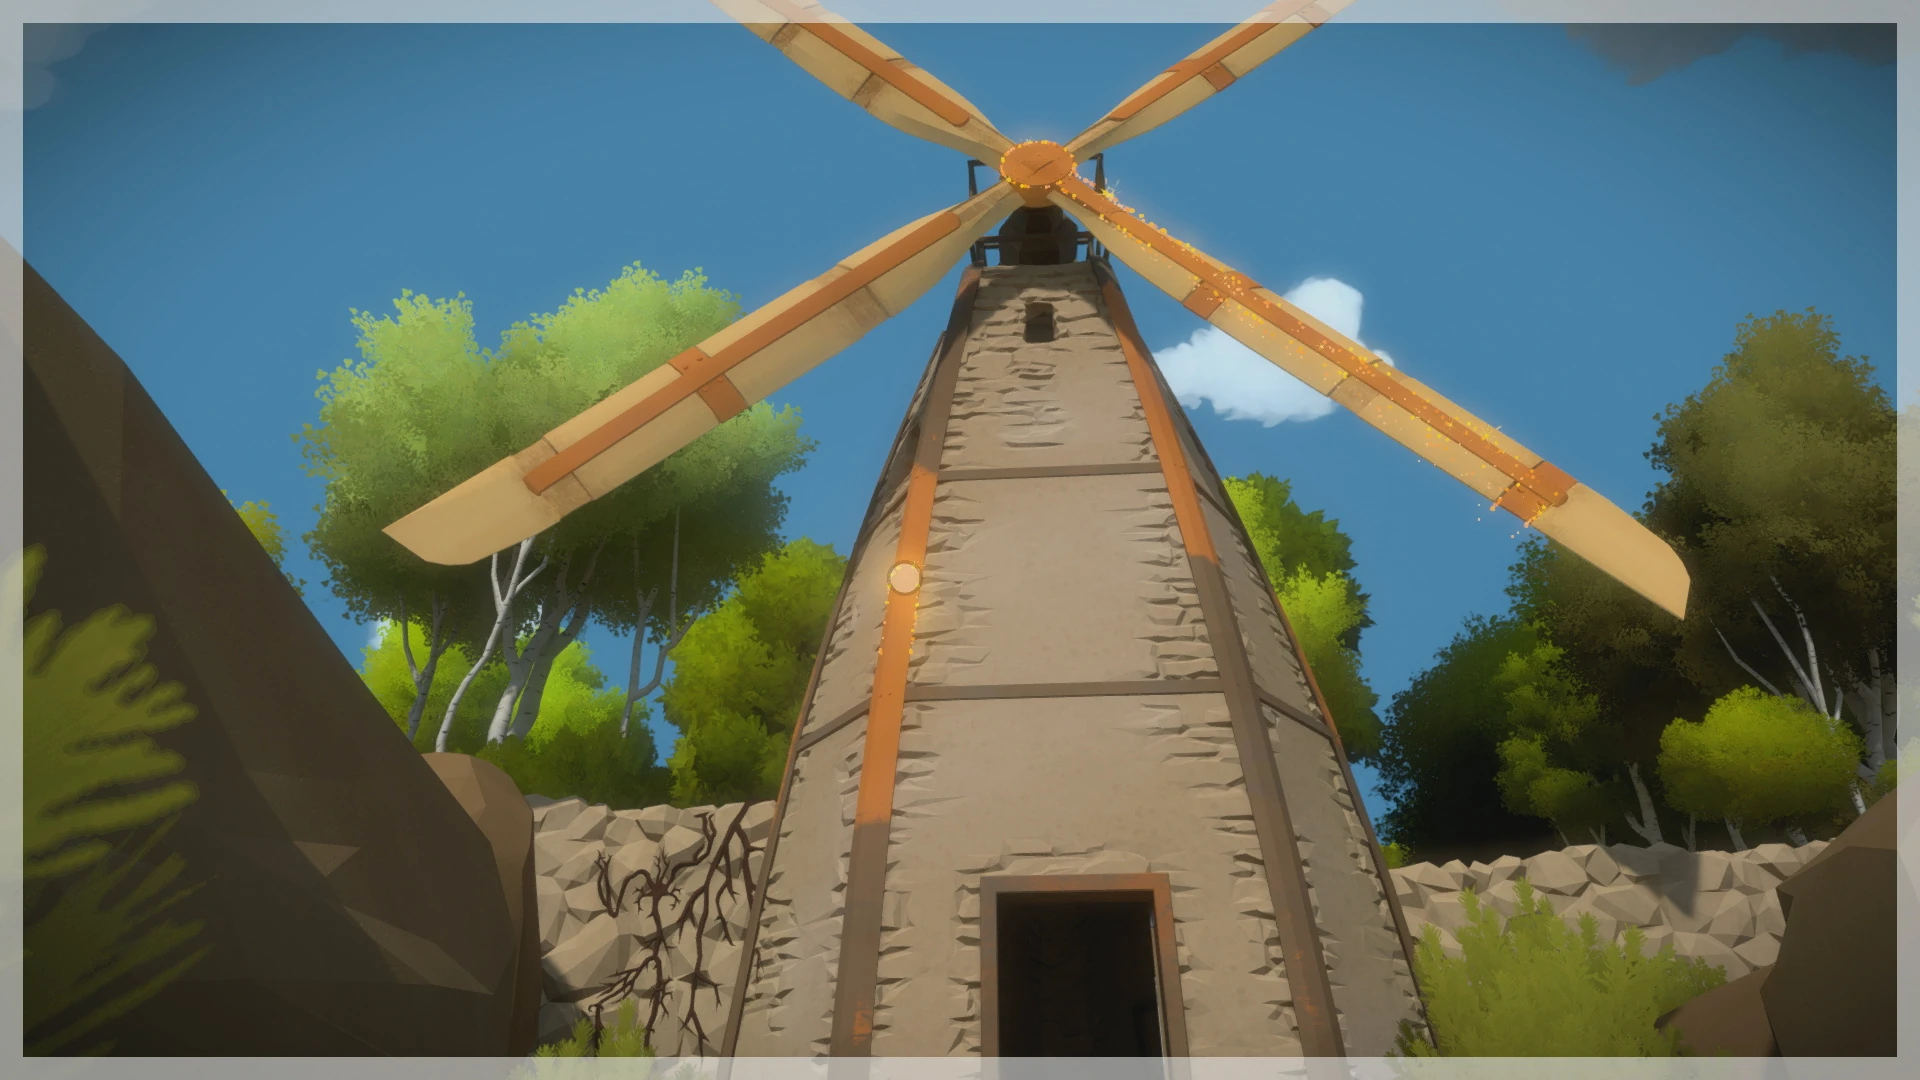
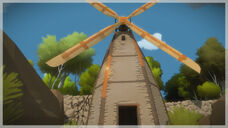
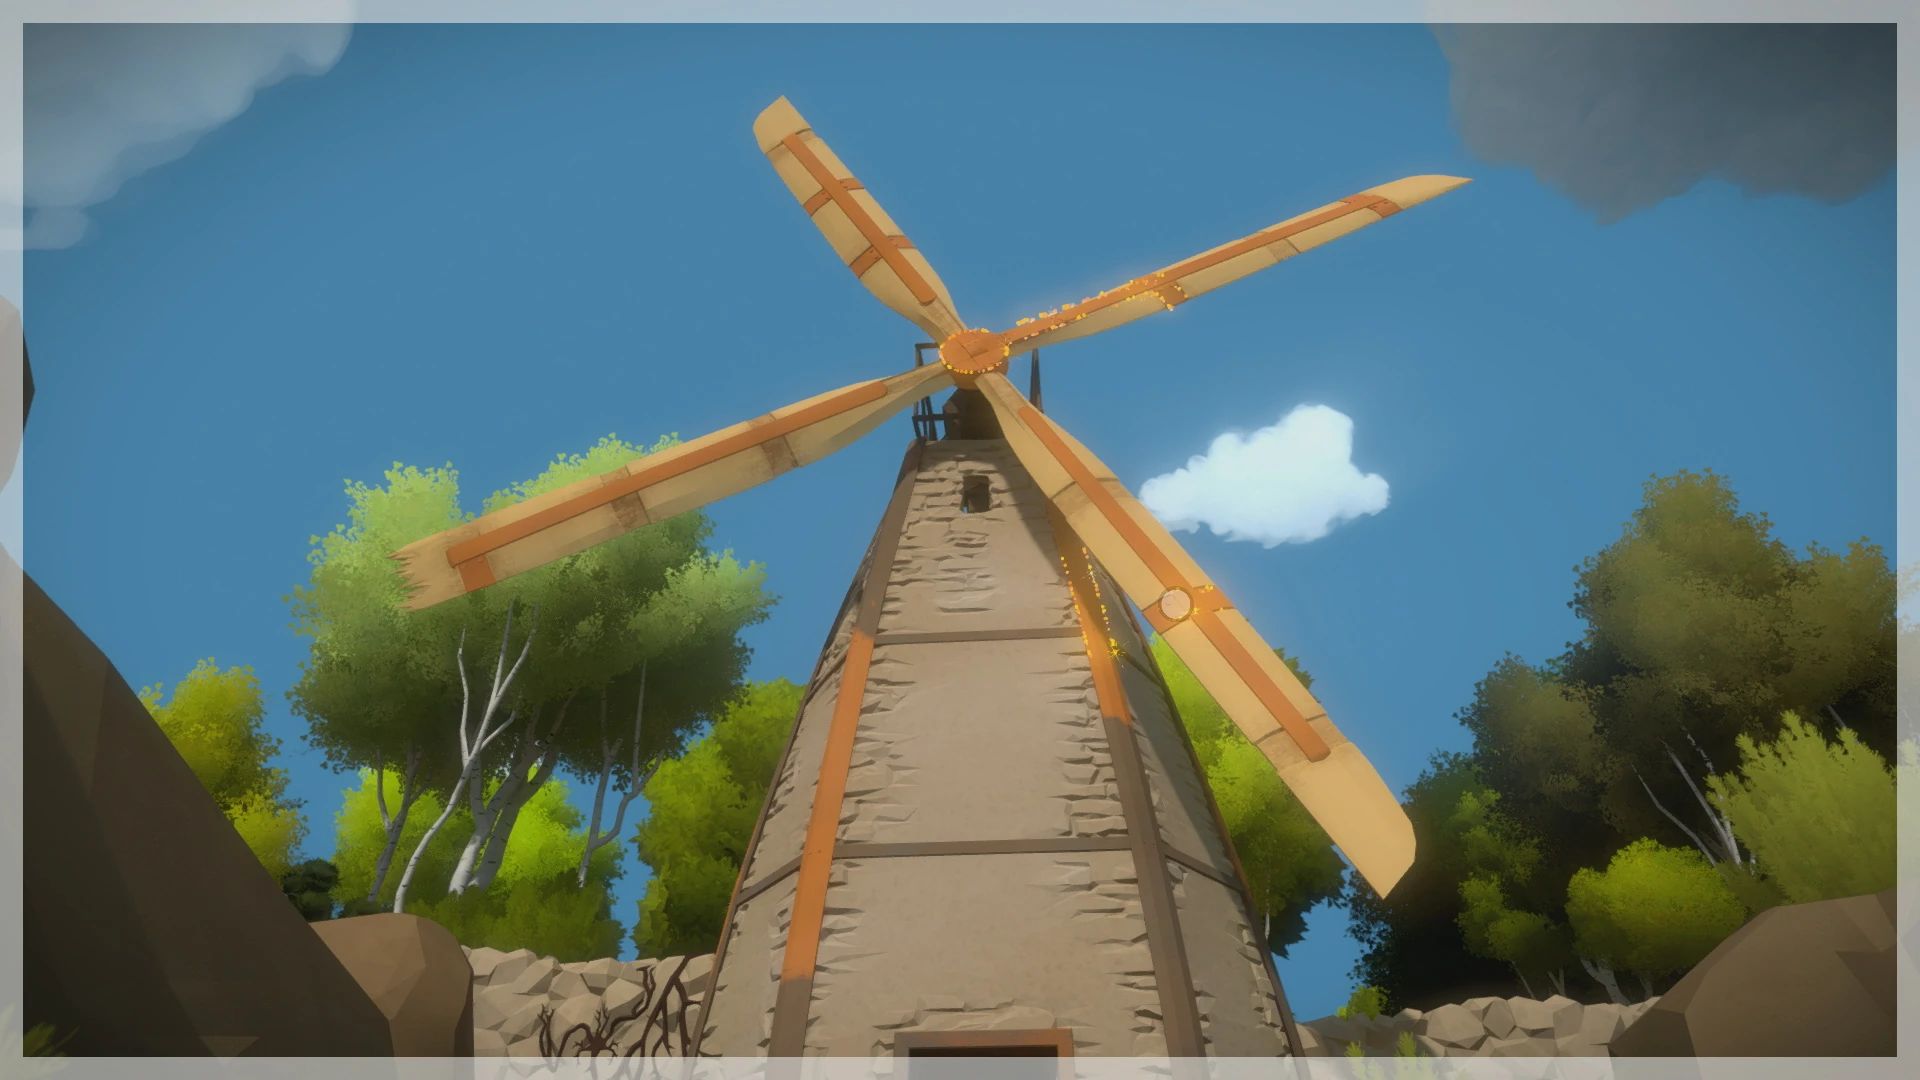
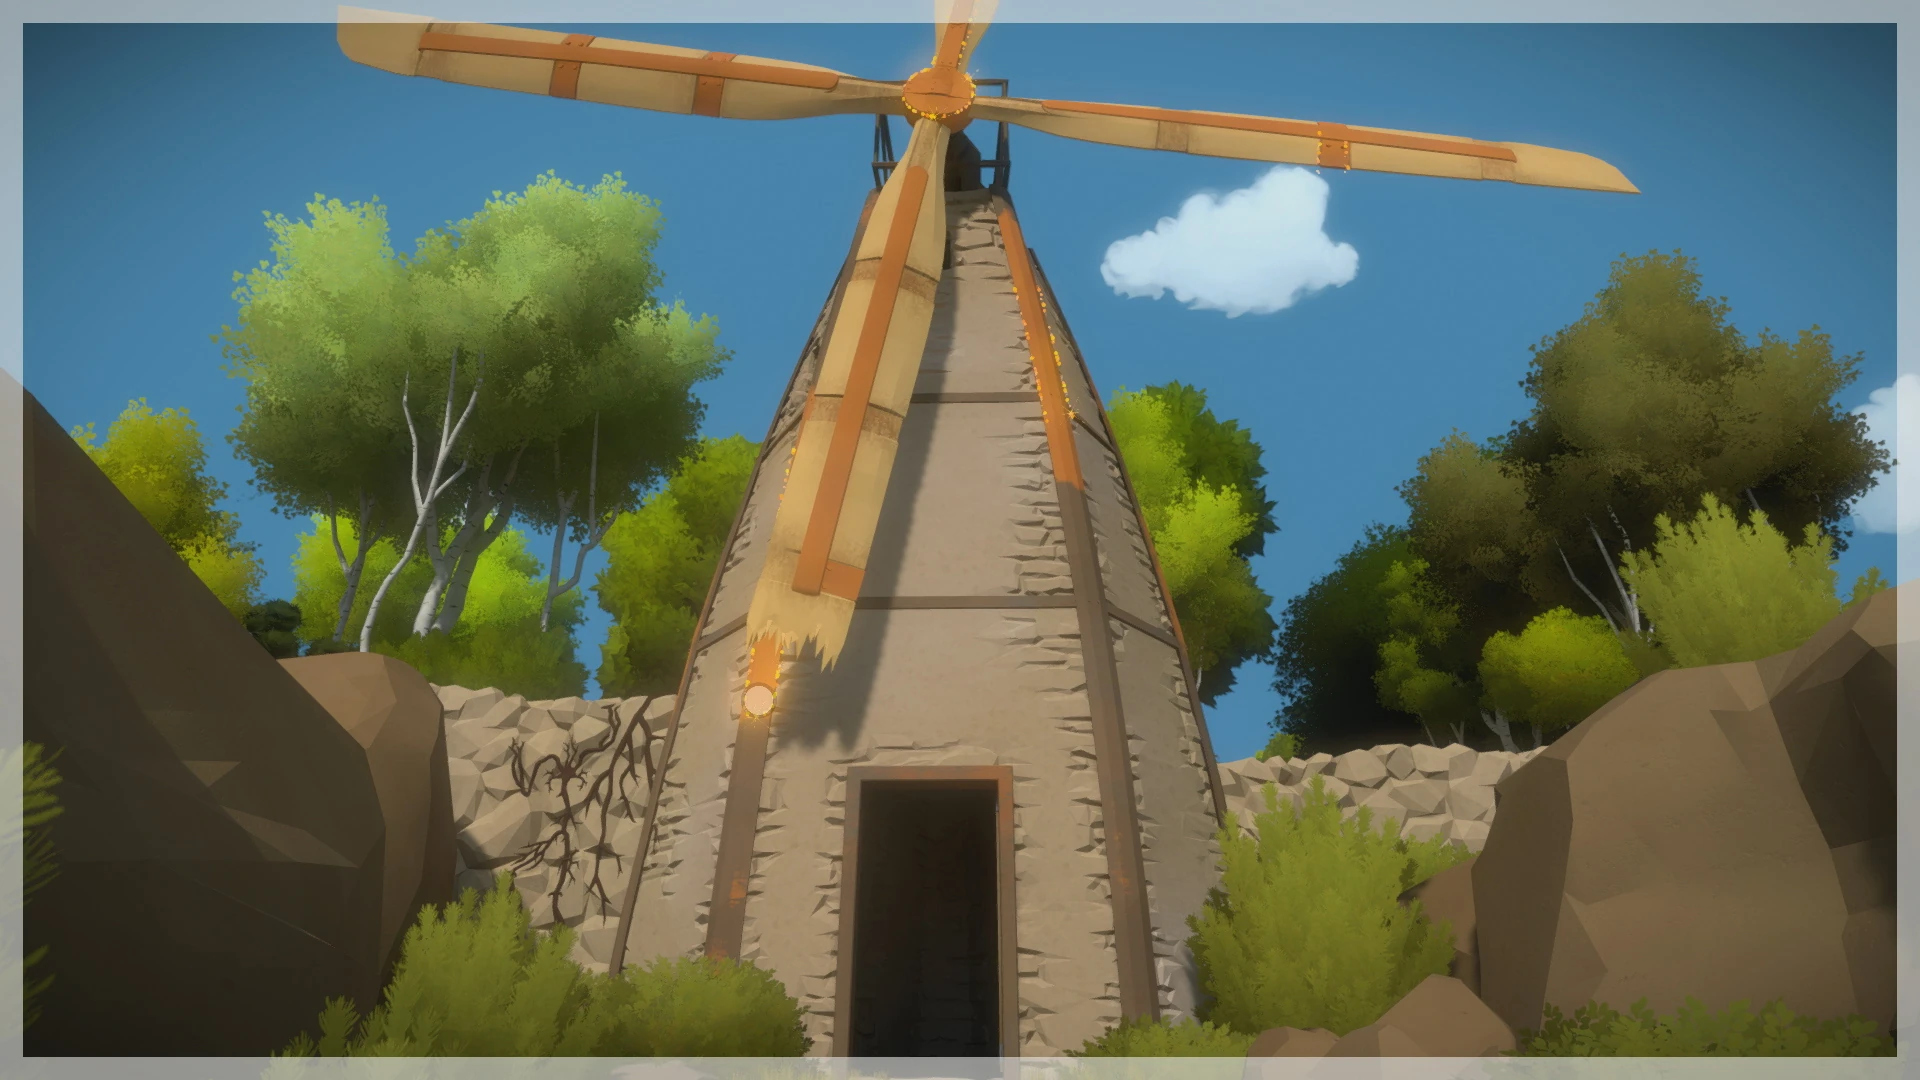
3 | Town - Windmill |
Symbol 1[ | ]

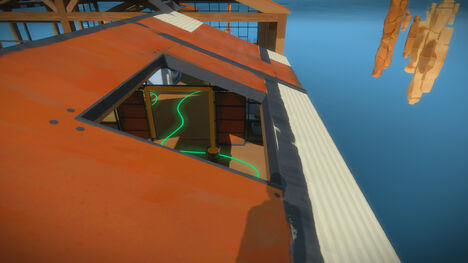
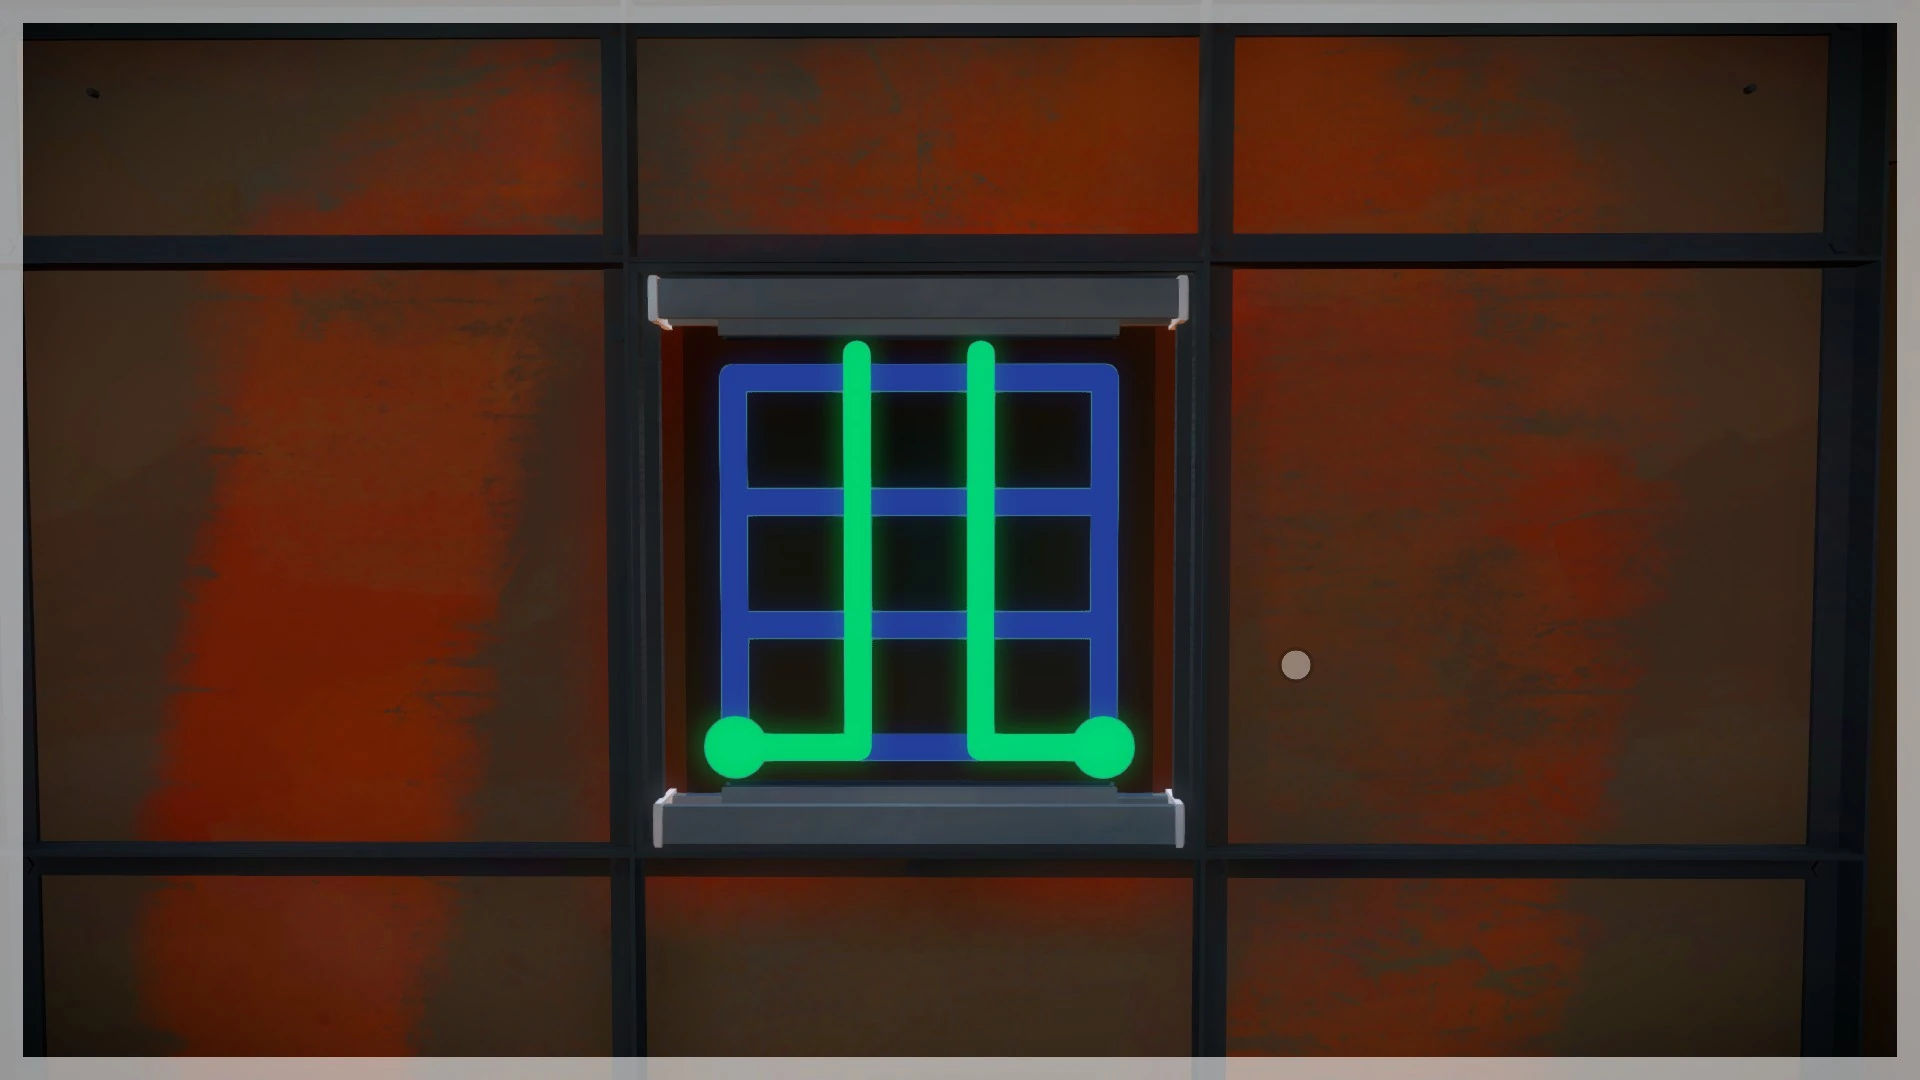
To unlock the next set of symbols, head to the Windmill and unlock the door, then power up the Windmill by drawing a path to the right. The windmill will begin to spin ever so slightly - and to complete these puzzles you'll need to hop between the building itself and the blades. For this first symbol, just hop onto the left side of the building, and hop back on to the second blade to complete the path
Symbol 2[ | ]

This second symbol is a bit trickier, mainly because you can't reuse a path you've already traveled. This means you can hop from the blade to the left side and back to the left column twice. Instead, wait until the blade you start on passes the right side of the building to hop off, and then ride the second blade all the way around to the left side of the building, before hopping on the third blade to finish the symbol.
Symbol 3[ | ]

The last symbol, as you can guess, will involve you getting to the final blade to unlock the path. This means following a similar path from before - hop off the first blade on the right side, take the second blade to the left side. Instead of hopping on and off the third blade, trace down to the bottom to avoid the blade's broken edge, and trace back up to catch the fourth blade and get the last symbol traced.
Desert Obelisk - Side 3[ | ]
| # of Symbols | Symbol Locations | |
  |
1 | Desert - Sands |
Symbol 1[ | ]

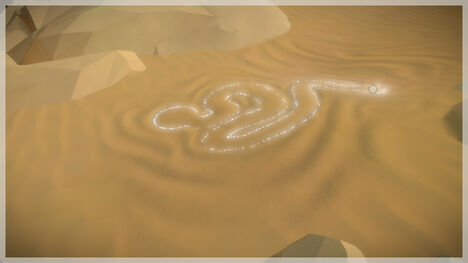
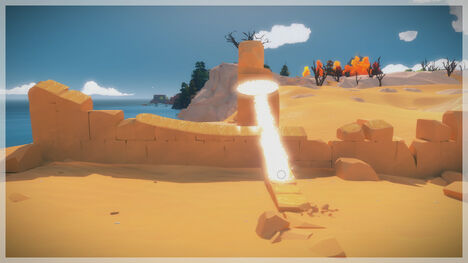
This symbol is cleverly hidden in the sands itself. From the obelisk going towards the desert ruins, head right instead over some rocks to a sandy area with rocks, and look for a pattern made in the tiny dunes and trace the line.
Desert Obelisk - Side 4[ | ]
| # of Symbols | Symbol Locations | |
  |
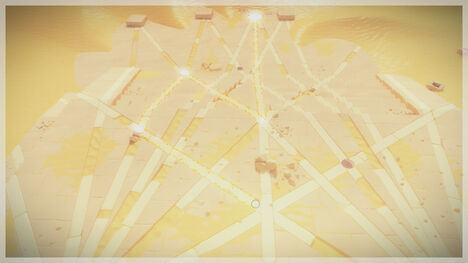
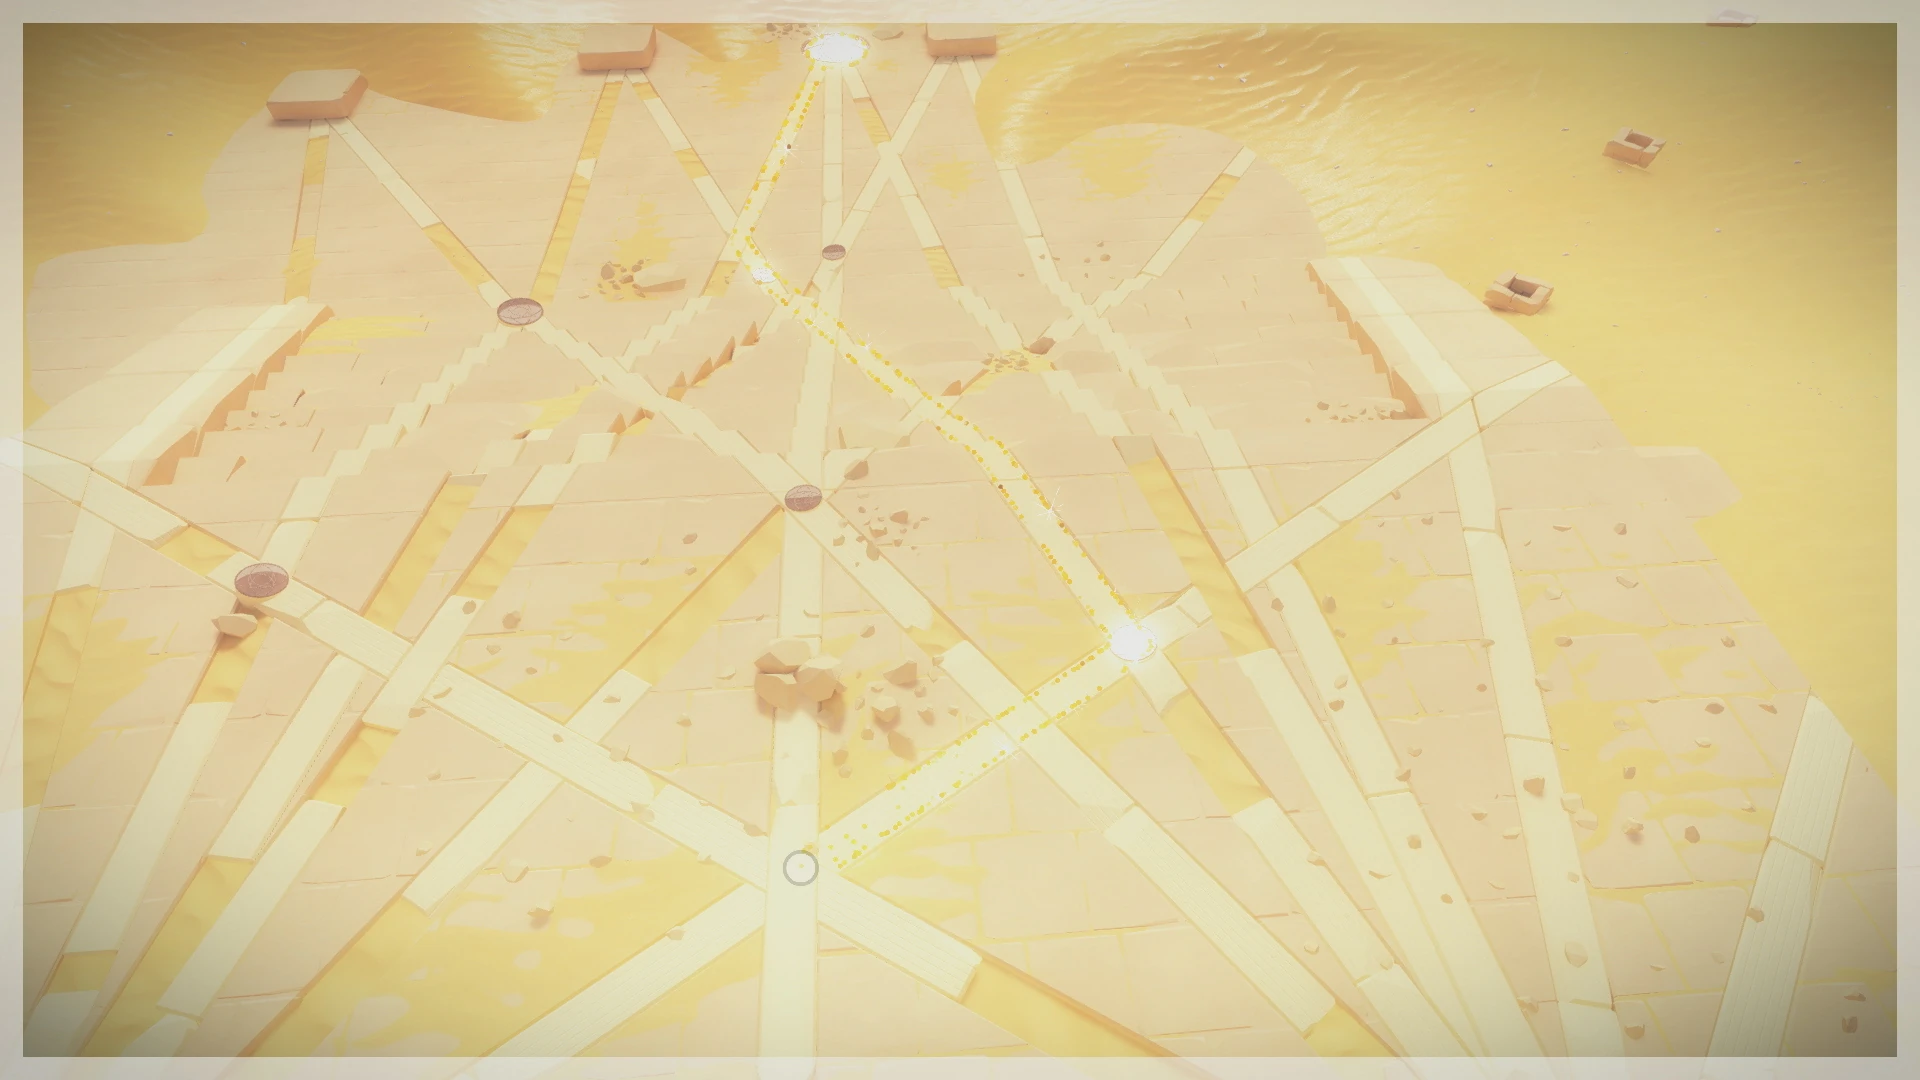
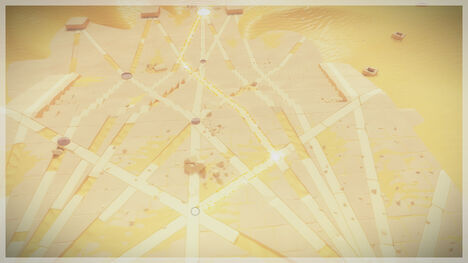
8 | Desert - Ruins |
Symbol 1[ | ]
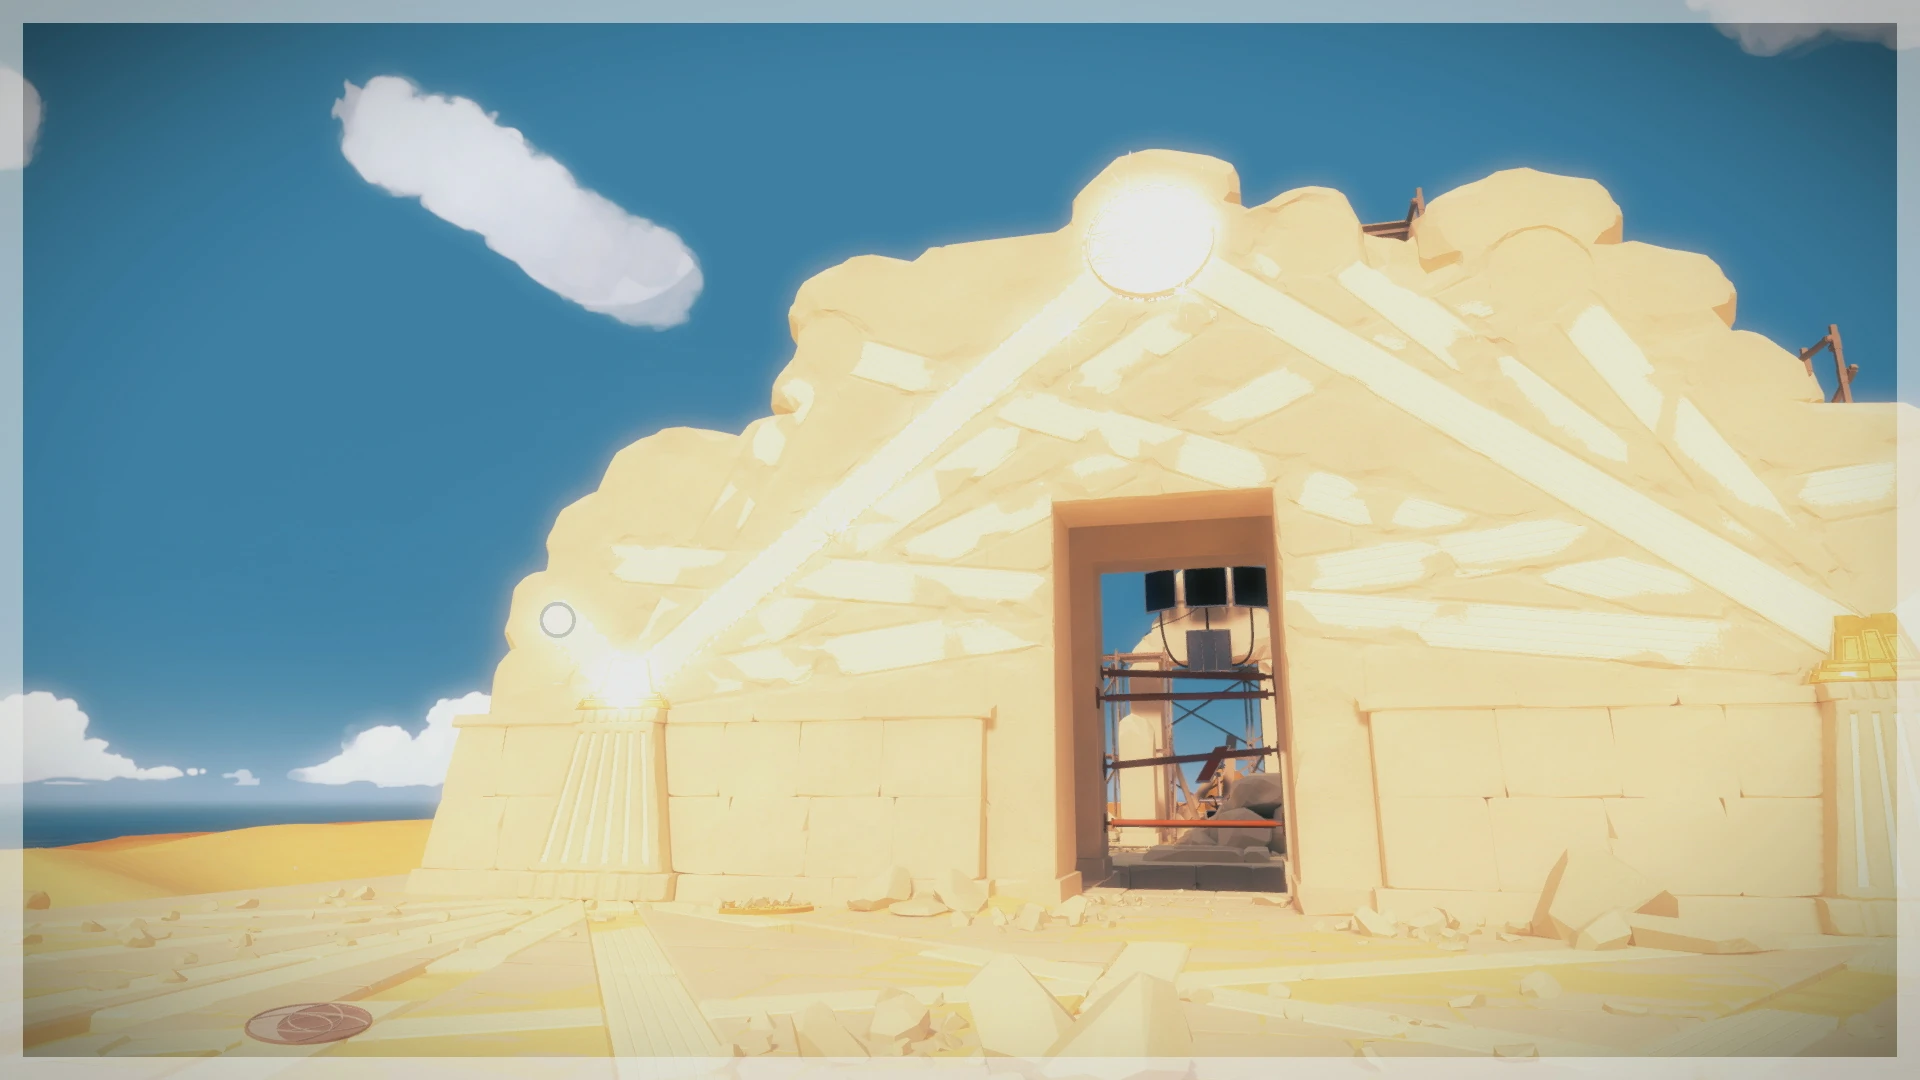

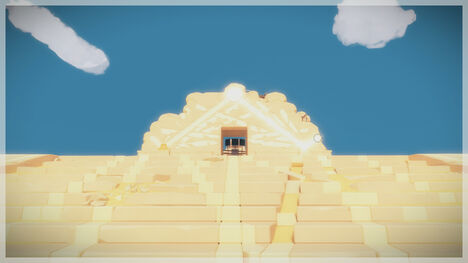
To find these first few ruin symbols, you'll have to get the sun on your side. Head up the steps of the ruins and look for the center symbol to catch the sun's rays, and get up close and move right until the symbol on the left corner is also lit up, then trace the line.
Symbol 2[ | ]

This symbol, like the first, is manipulated at the entrance to the ruins using the sun's rays on the symbol above. To catch the other symbol on the right, back down the stairs along the cener until you spot the right symbol gleaming, and trace the symbol.
Symbol 3[ | ]

Much like the previous symbols, this one also relies on the sun to craft the perfect white line. From the ruins entrance, look for some stairs on the side and climb to the top. Then stand near the middle at the very edge (you can't fall) until you get all the symbols but the small one on the right gleaming. Then trace the symbol through the unbroken lines all the way down to the bottom.
Symbol 4[ | ]
Just like the previous puzzle, this one uses the same area, but with a different angle. Move right from the previous position until only the top and right symbols are lit up, then trace this alternate path all the way down to the bottom.
Symbol 5[ | ]


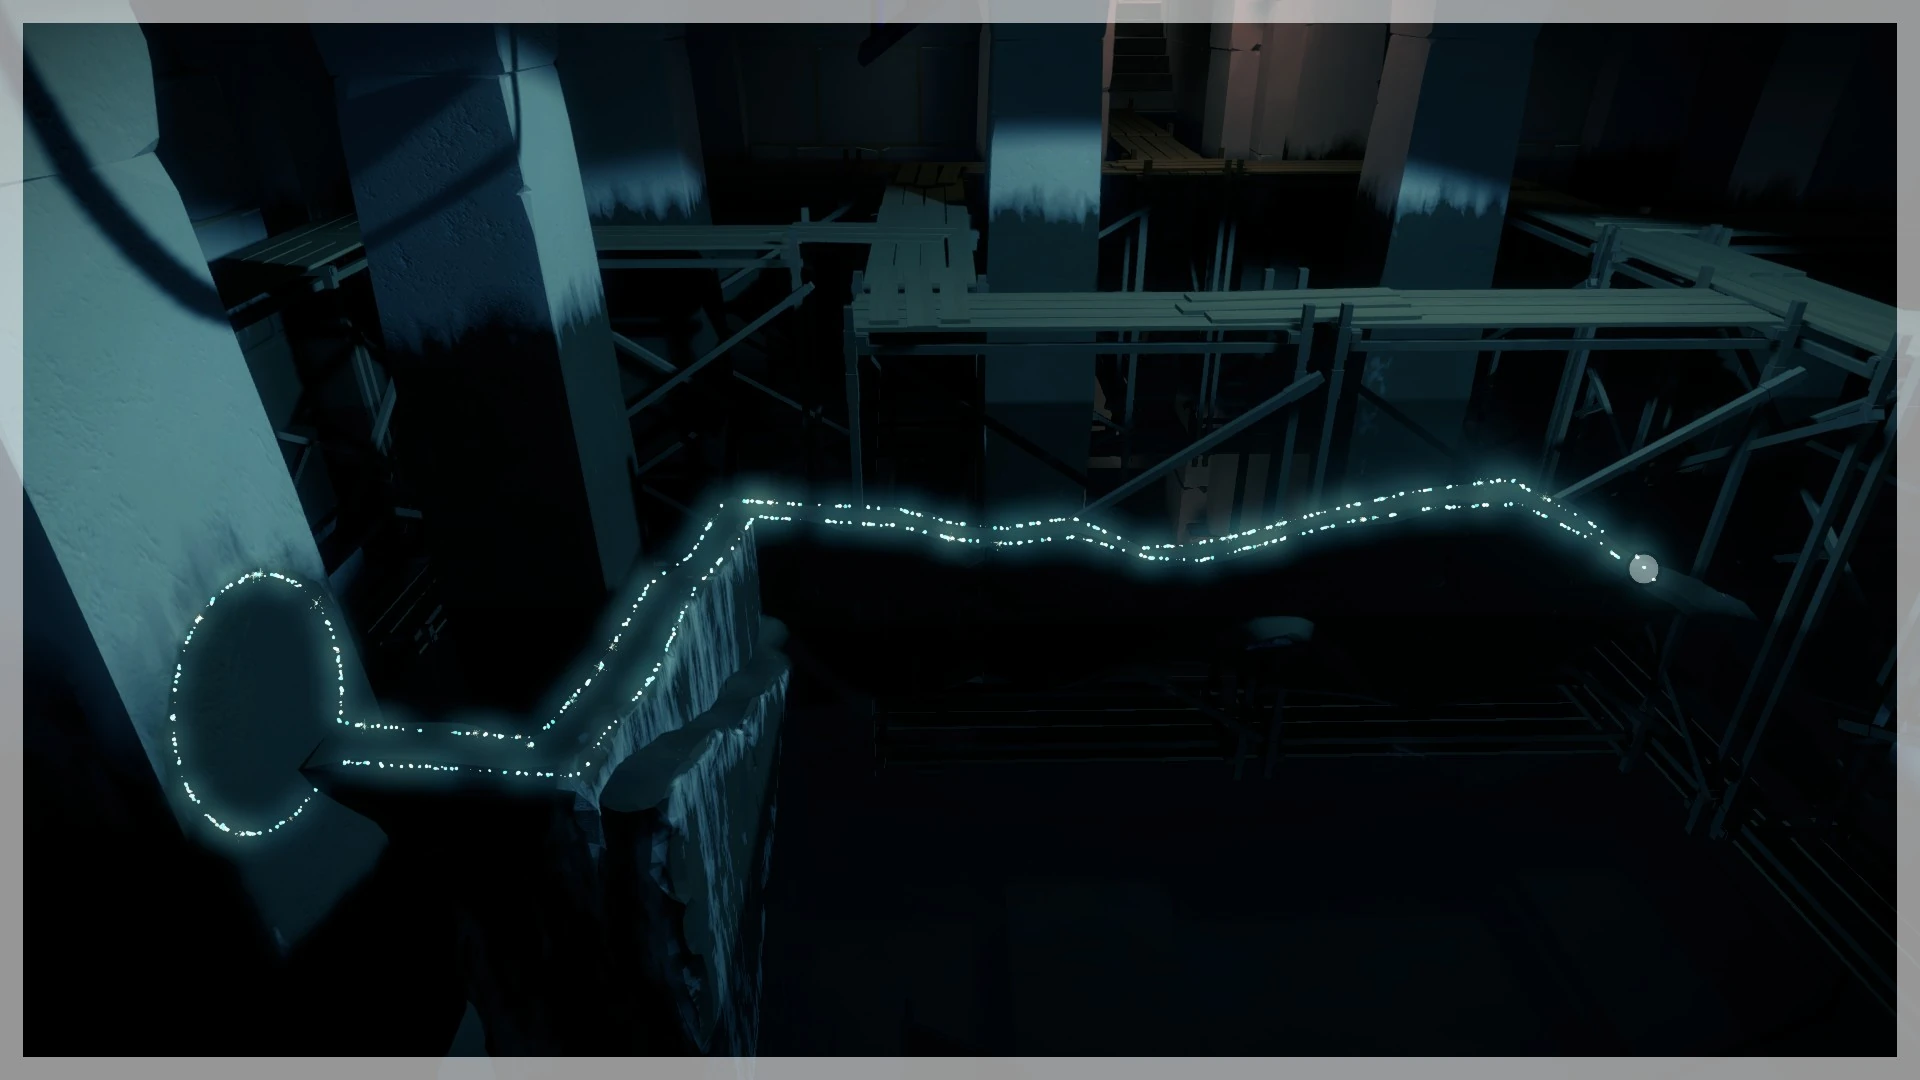
Once you have delved deep enough into the Desert Ruins and come upon a puzzle room based on raising and lowering the water level, be sure to check the ruined walls in the center of the room. Stand on the side opposite from the entrance and look for a dark spot on the pillar to the left. Begin lowering the water and wait for the water's reflection to make the perfect starting point - and quickly trace the path before the shape is broken, and follow the draining water to the right and back again to finish the symbol.
Symbol 6[ | ]
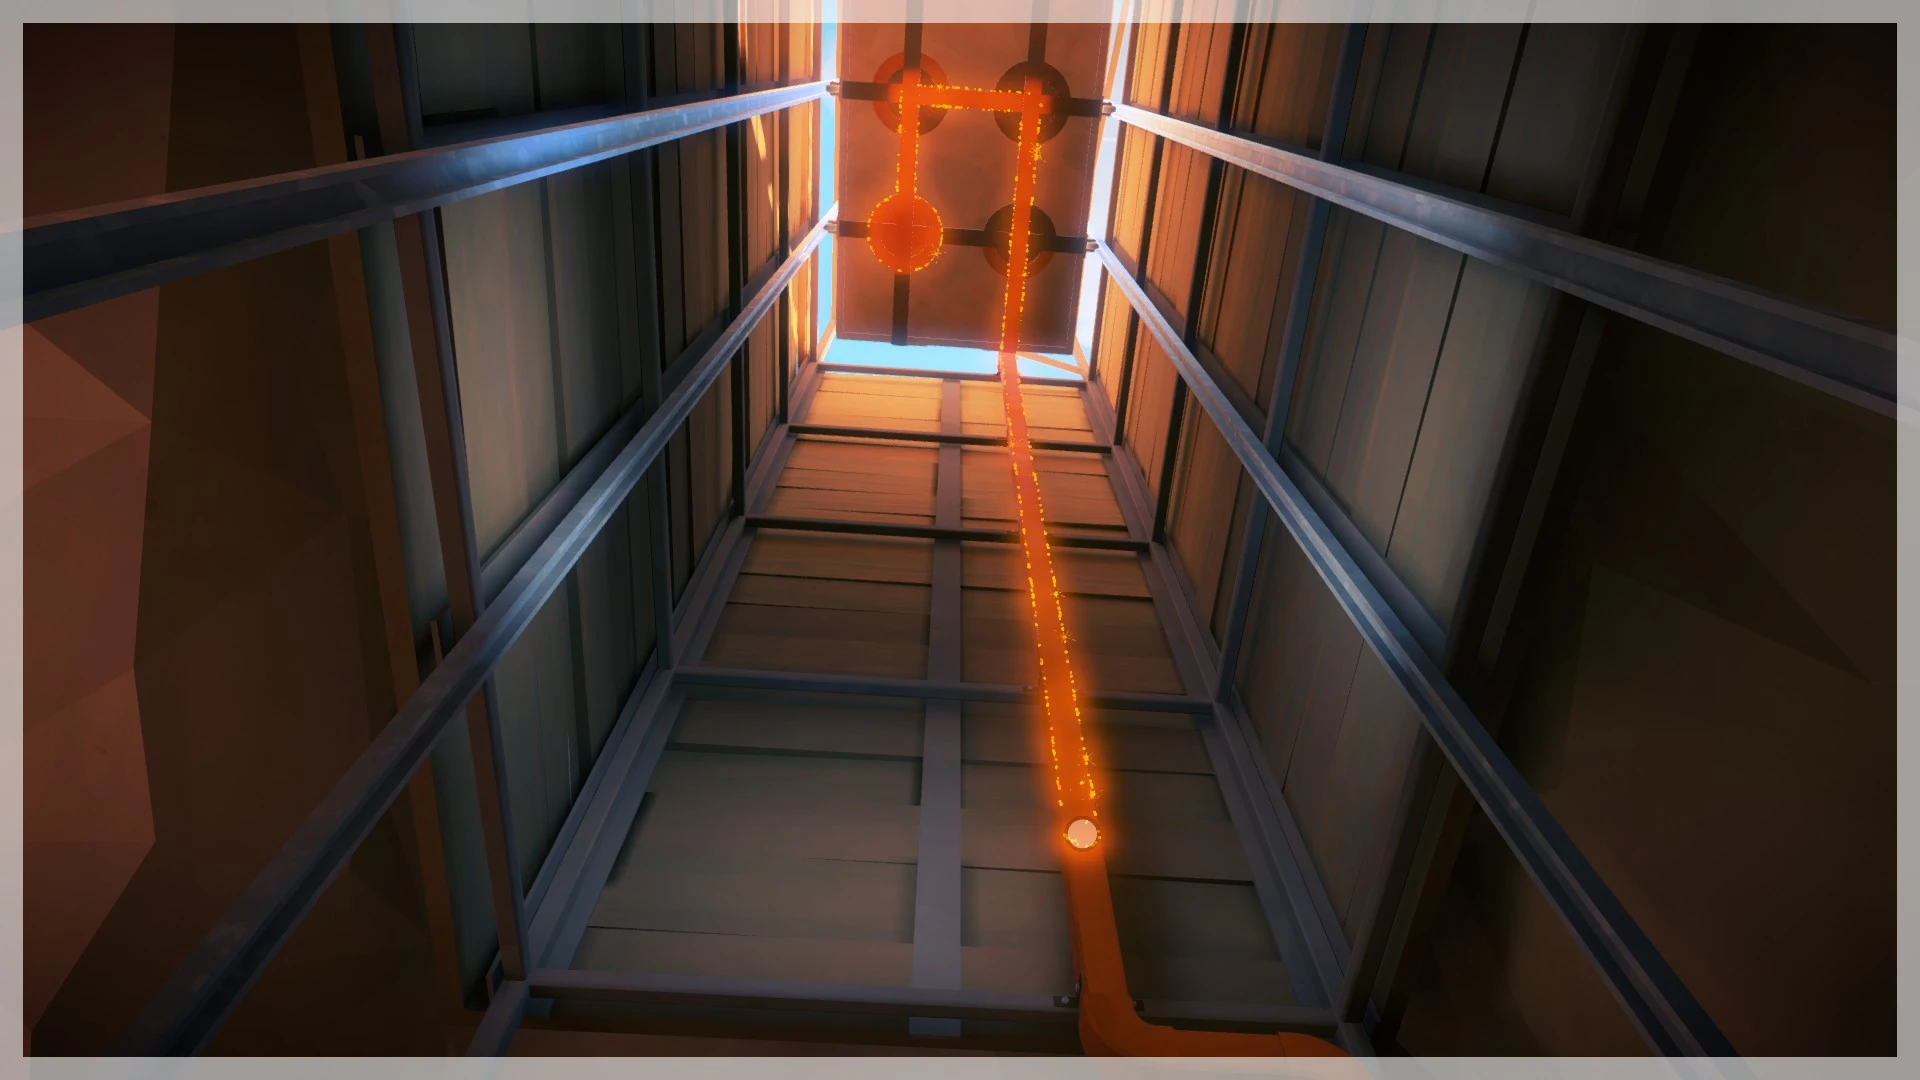
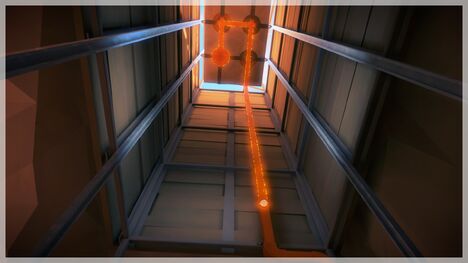
At the very end of the Desert Ruins is an elevator you take to the surface to activate a laser. Return to the bottom of the ruins and look up the elevator shaft to find the start of a puzzle on the bottom of the elevator platform, and trace it down the orange pipe.
Symbol 7[ | ]

Head past the main ruins to a small ruined wall on the far side by the coast. Here you can find another instance of the sun's rays lighting up a path of ruin for you to trace the symbol.
Symbol 8[ | ]

Much like the previous symbol, you can alter the sun's rays by standing back farther to create a path curving to the left. Trace the new path to unlock the symbol.
Desert Obelisk - Side 5[ | ]
| # of Symbols | Symbol Locations | |
  |
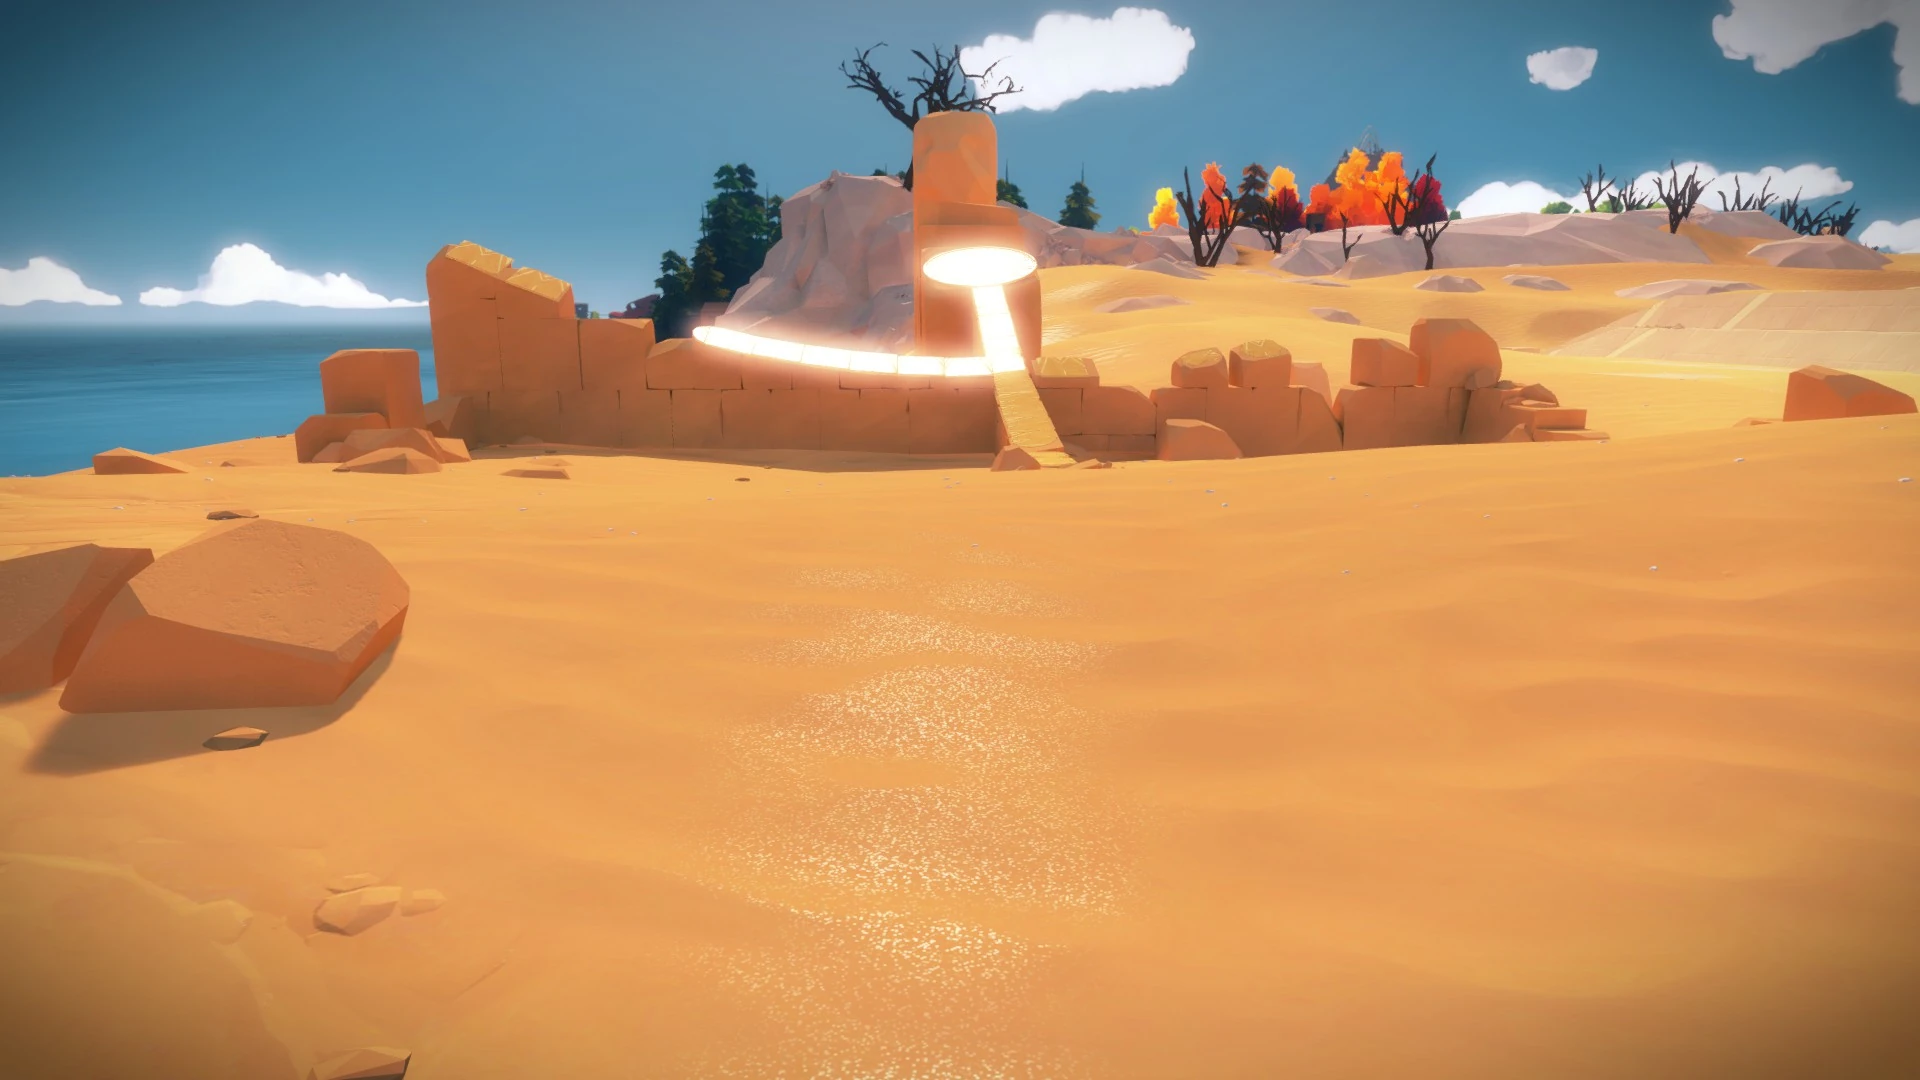
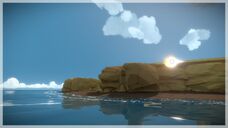
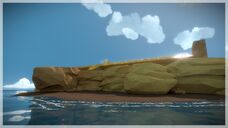
5 | Desert - Shore |
Symbol 1[ | ]

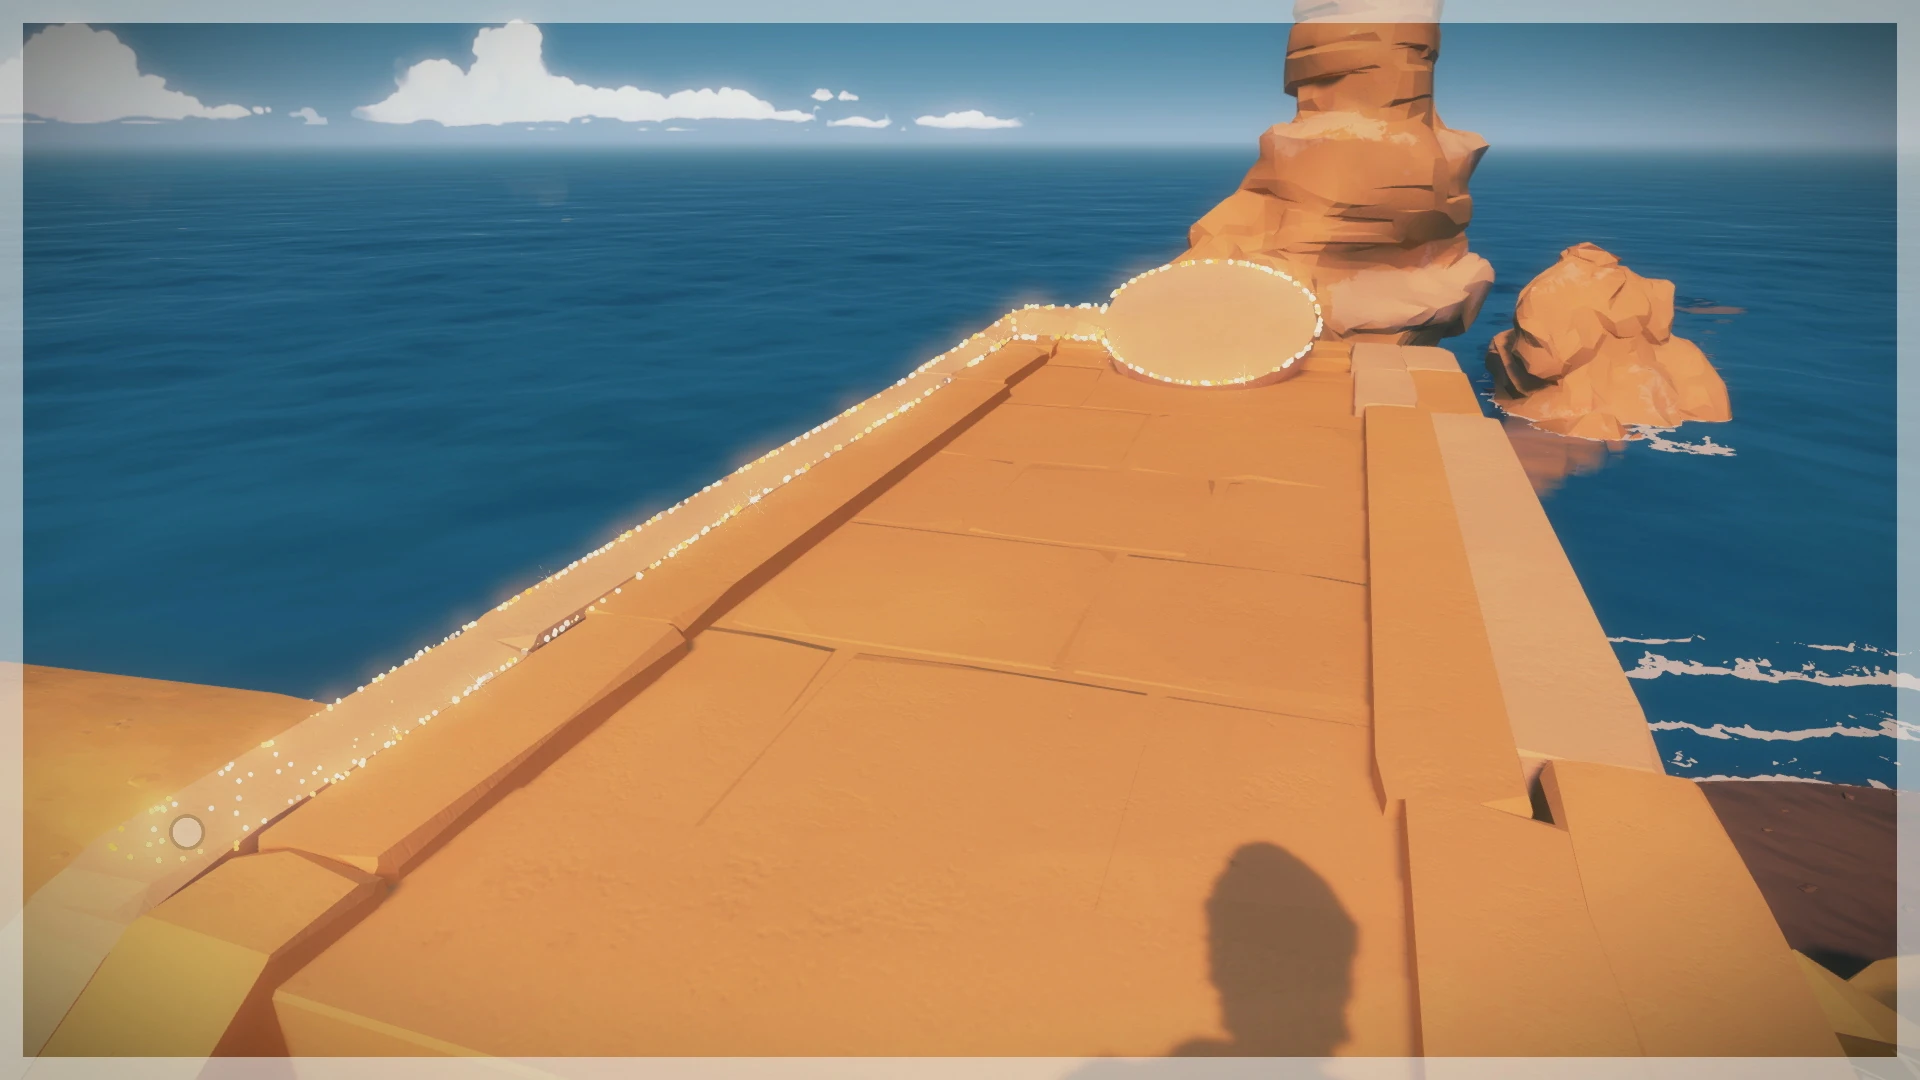
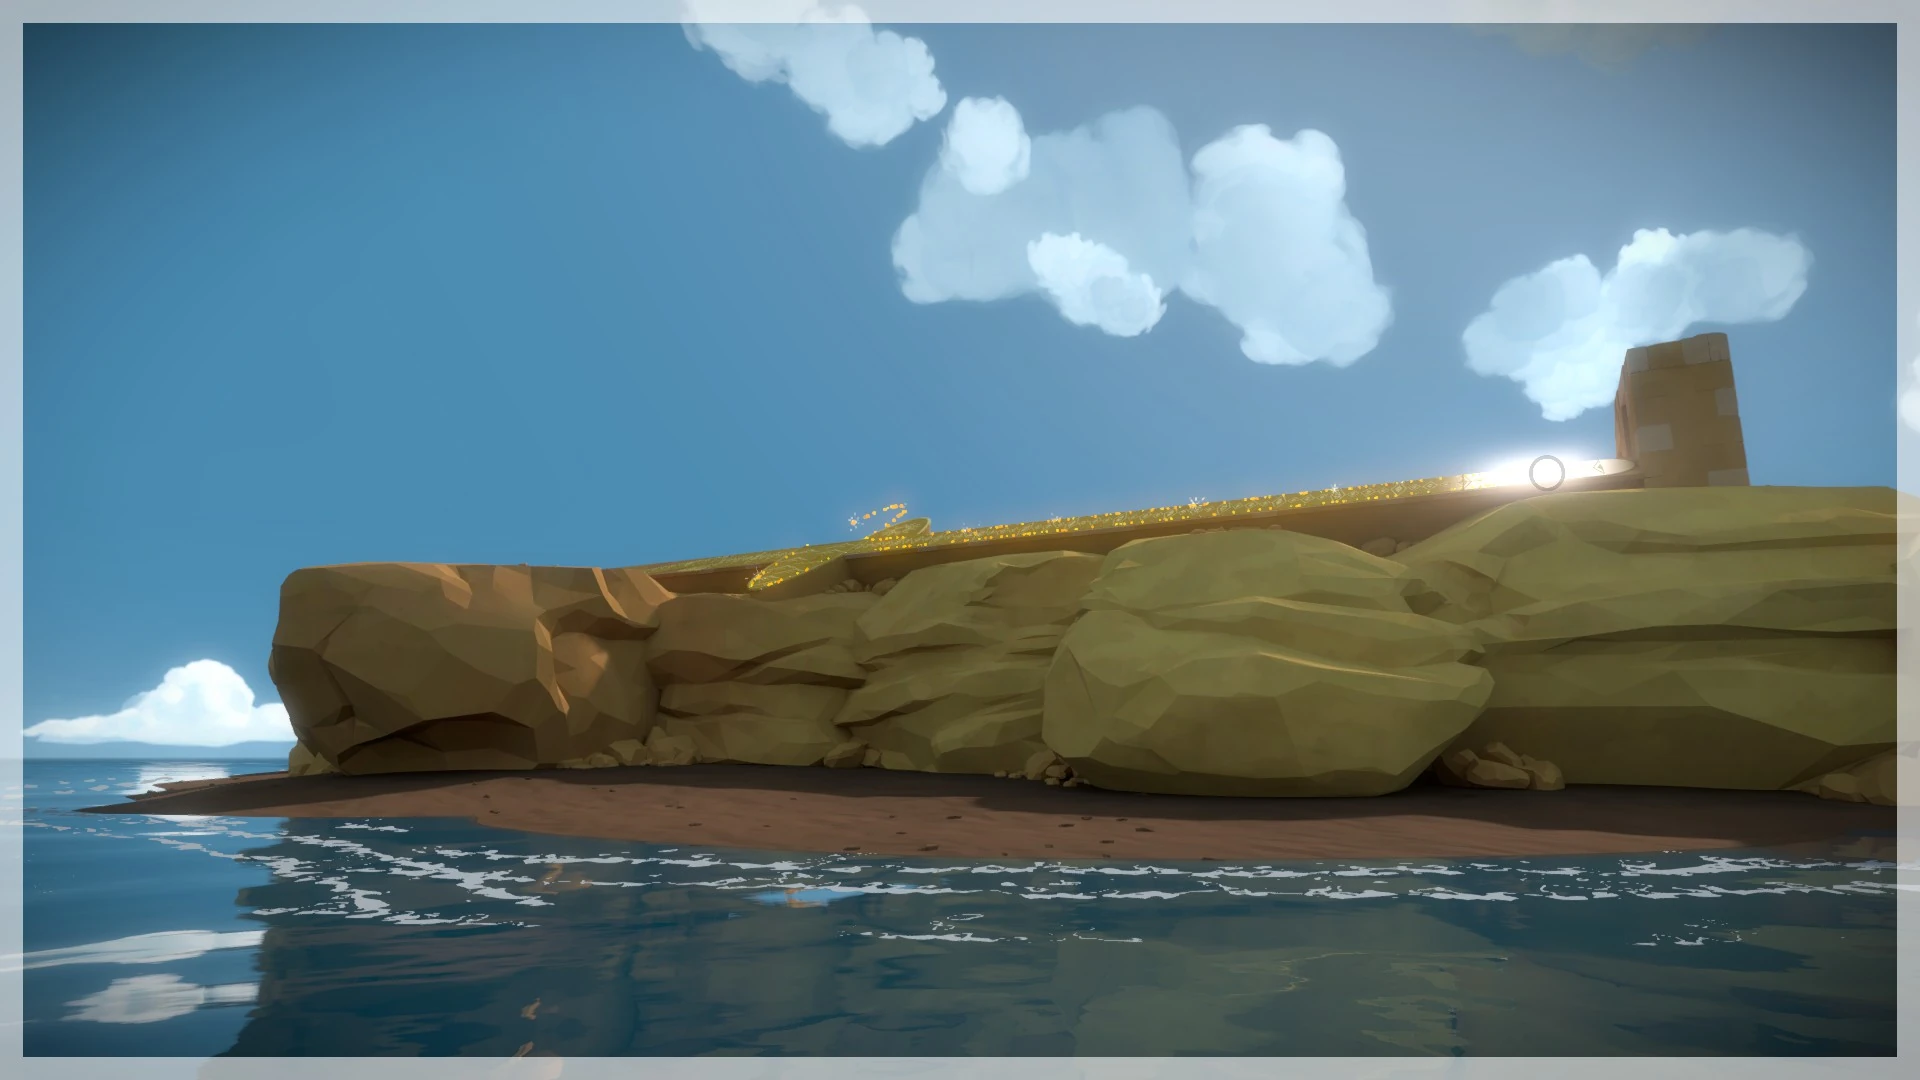
Head to the coastline of the desert where a long walkway ruin is located, and head up the small set of stairs underneath the larger stairs. Walk along the styled path and keep an eye on the ground below until a shape takes form at the far end.
Symbol 2[ | ]

Leaving the main ruins for the coast, head to the largest grouping of ruins along the cliff to find a short stairway leading to a half broken circle at the edge. Match it up with the other half circle on the rocks in the water to form your starting point, and trace the line around the stairway and down the other side of the ruins.
Symbol 3[ | ]
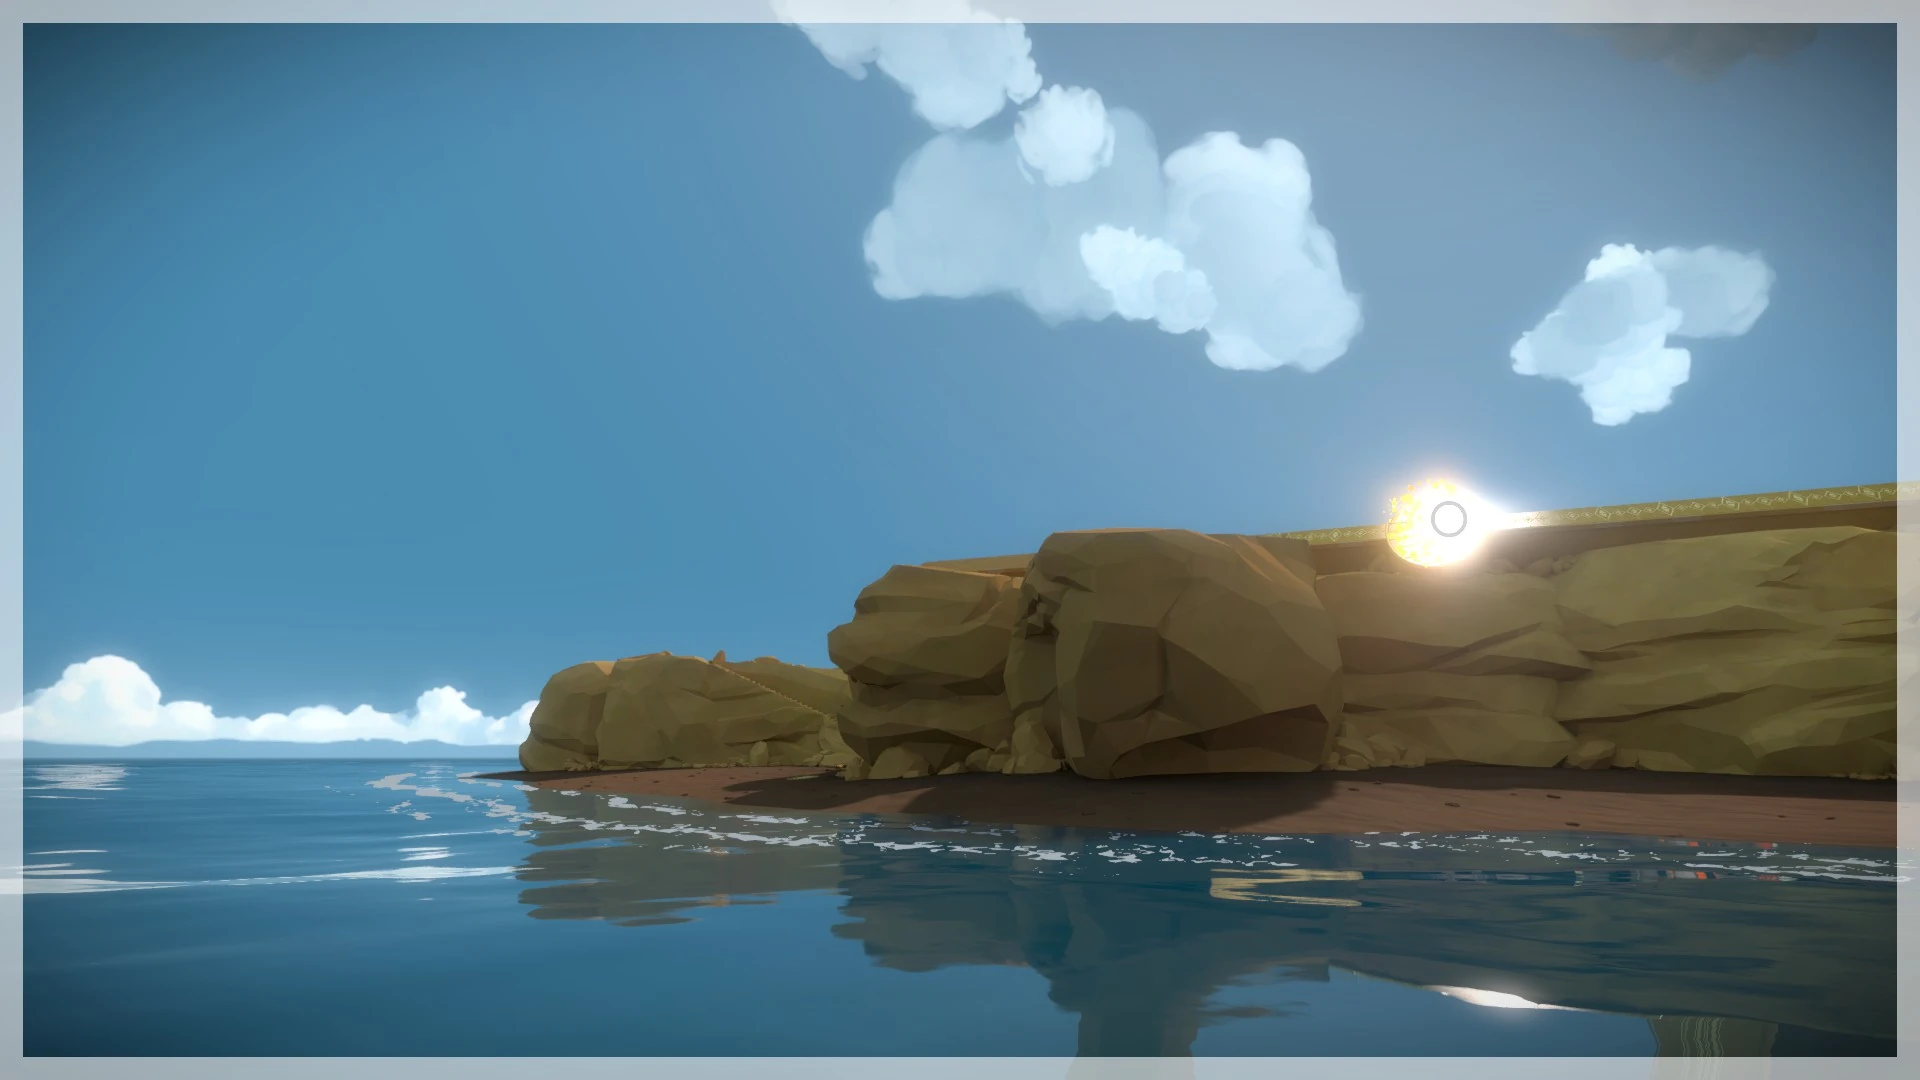
To get this puzzle aligned, you'll need the help of the boat found along the coast from the Town leading to the Greenhouse. Once the boat is raised, send it on the path past the desert coast, and be sure to look at the walkway above the coast's ridge. If you walked along the path, you may have noticed an inscription of a sun and a boat. As the boat passes, stop it and start sailing back the way you came, allowing you to follow the sun's glint on the circular starting point, all the way along the walkway.
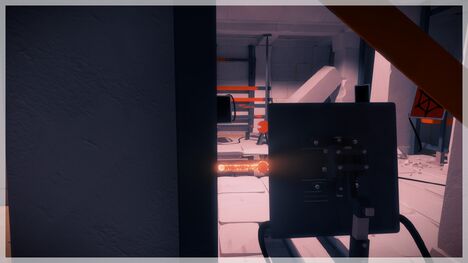
Symbol 4[ | ]
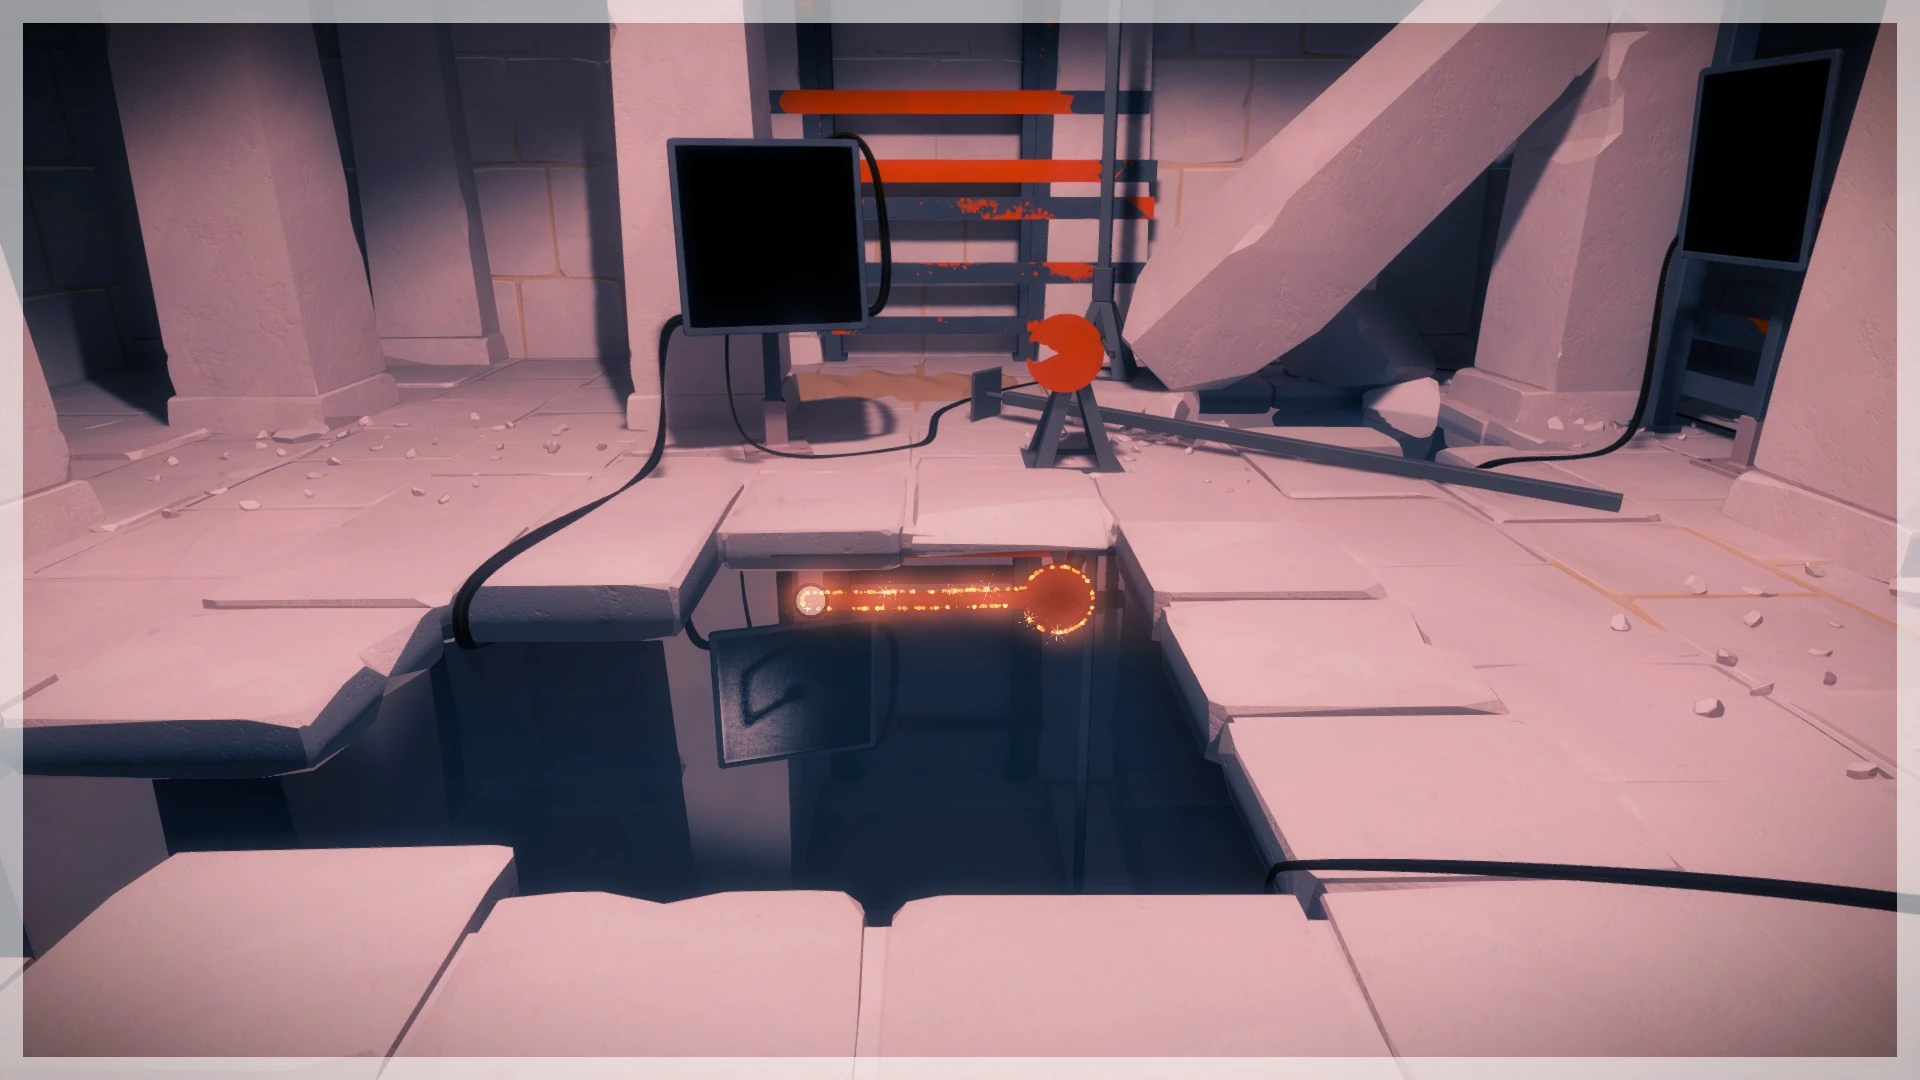

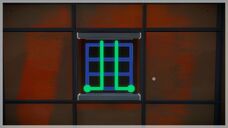
In one of the first rooms in the Desert underground ruins, you can find some orange bars and a pool of water in the middle. Align the circular piece with the reflection of the bar in the water to form this symbol and trace it along the water.
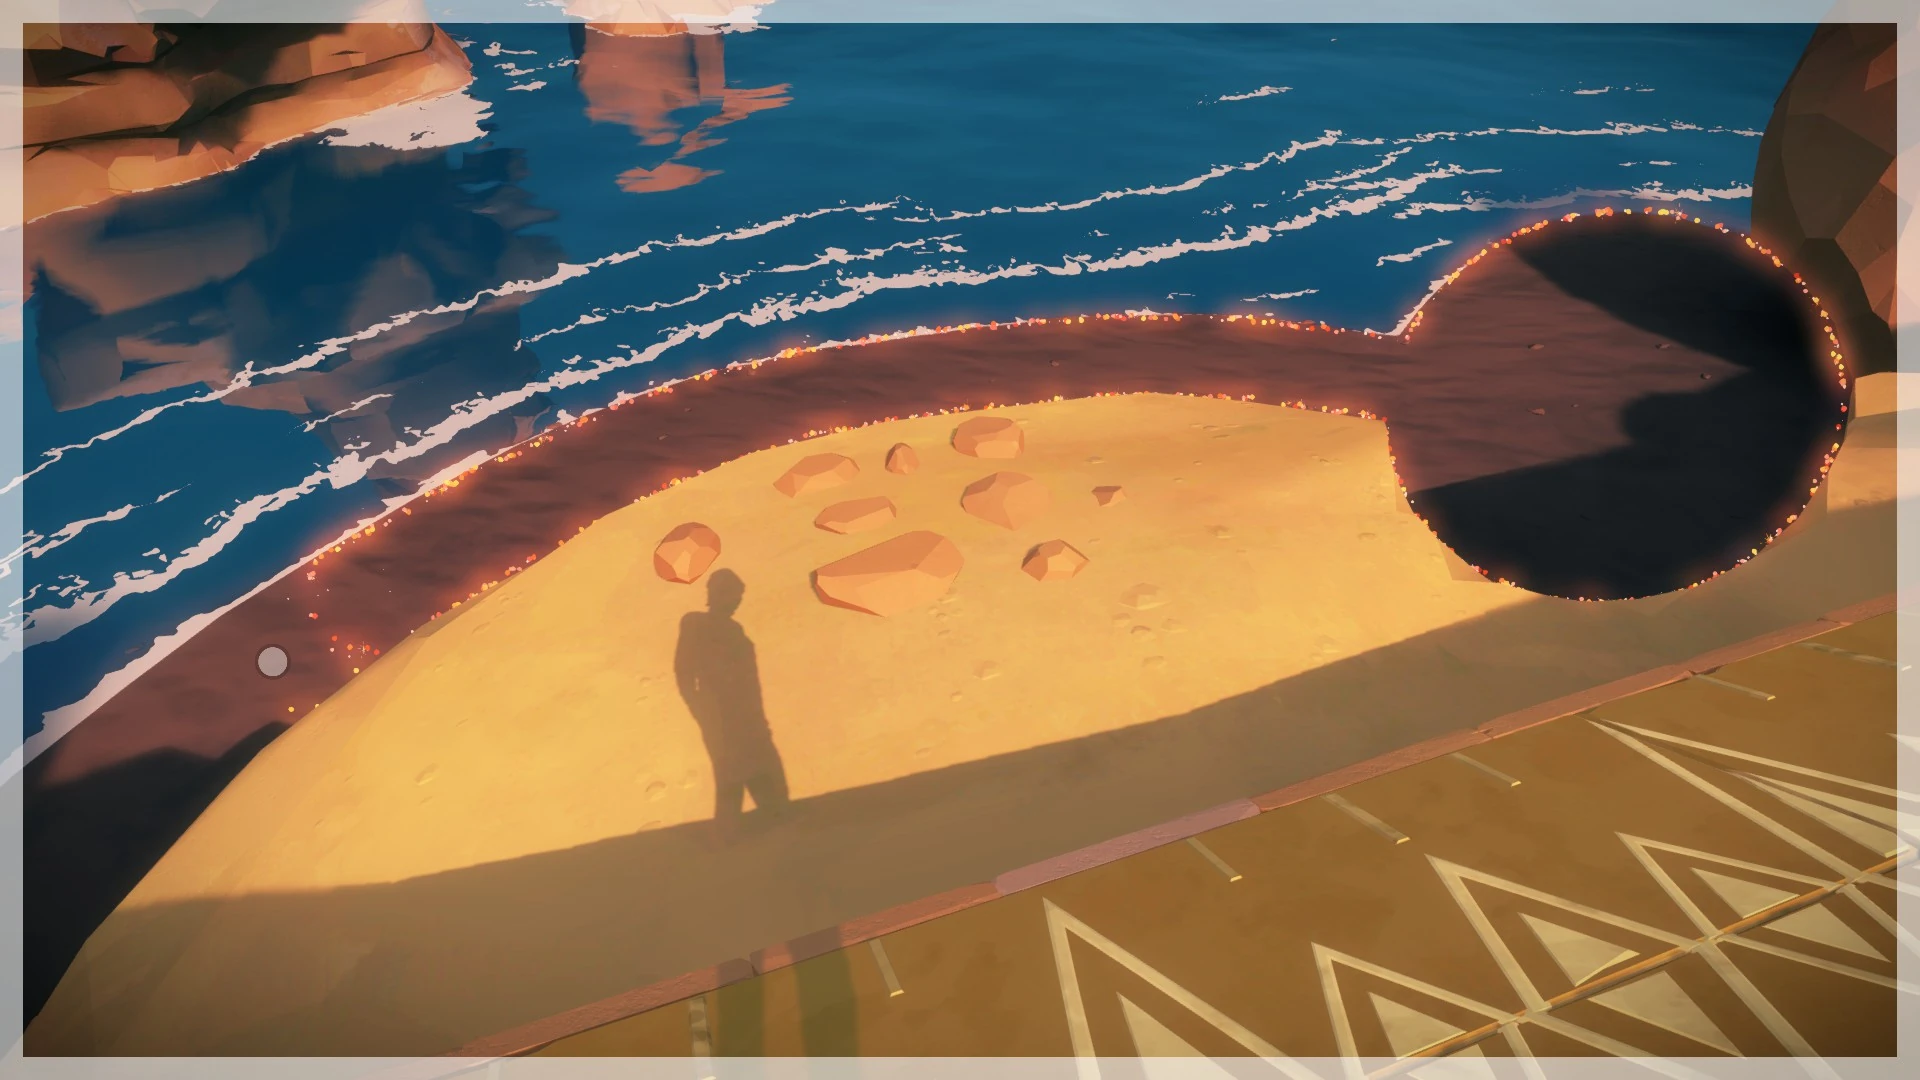
Symbol 5[ | ]

Although it looks the same as the symbol above, this symbol can only be seen further back behind the puzzle panel, and actually connects with a different orange bar, giving you another symbol to trace.